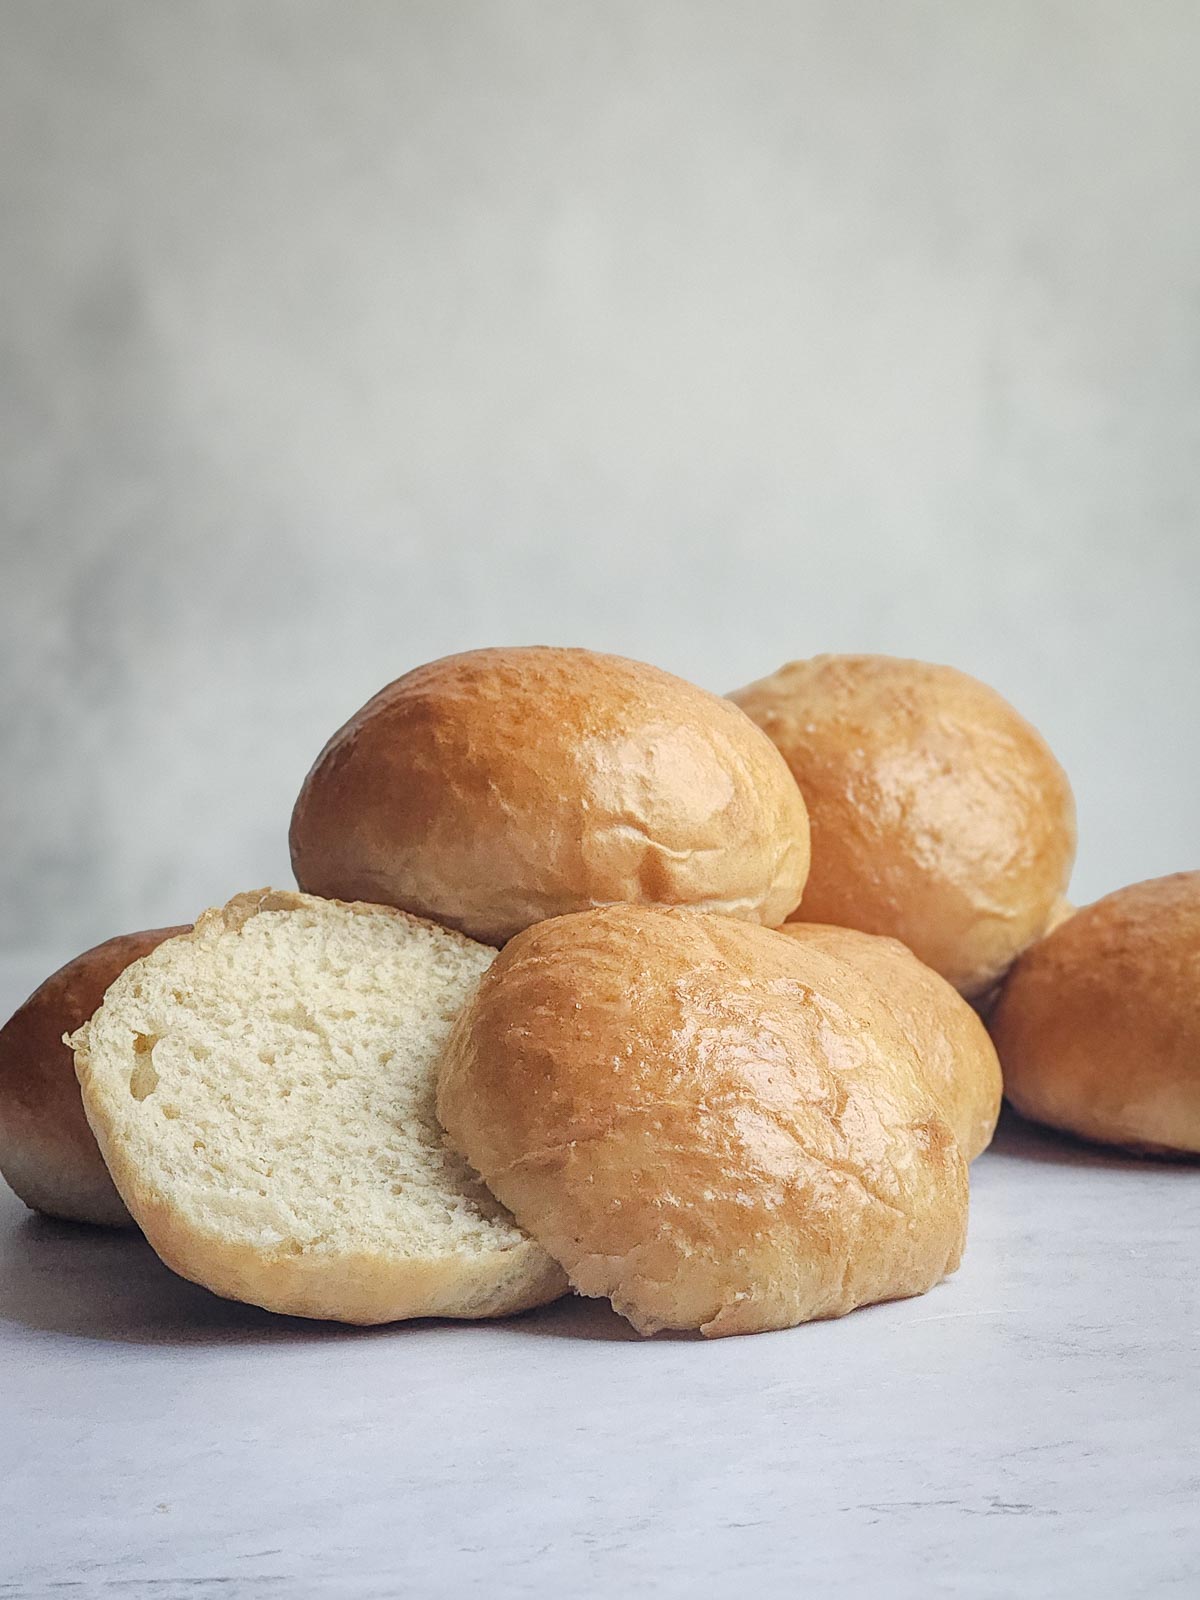
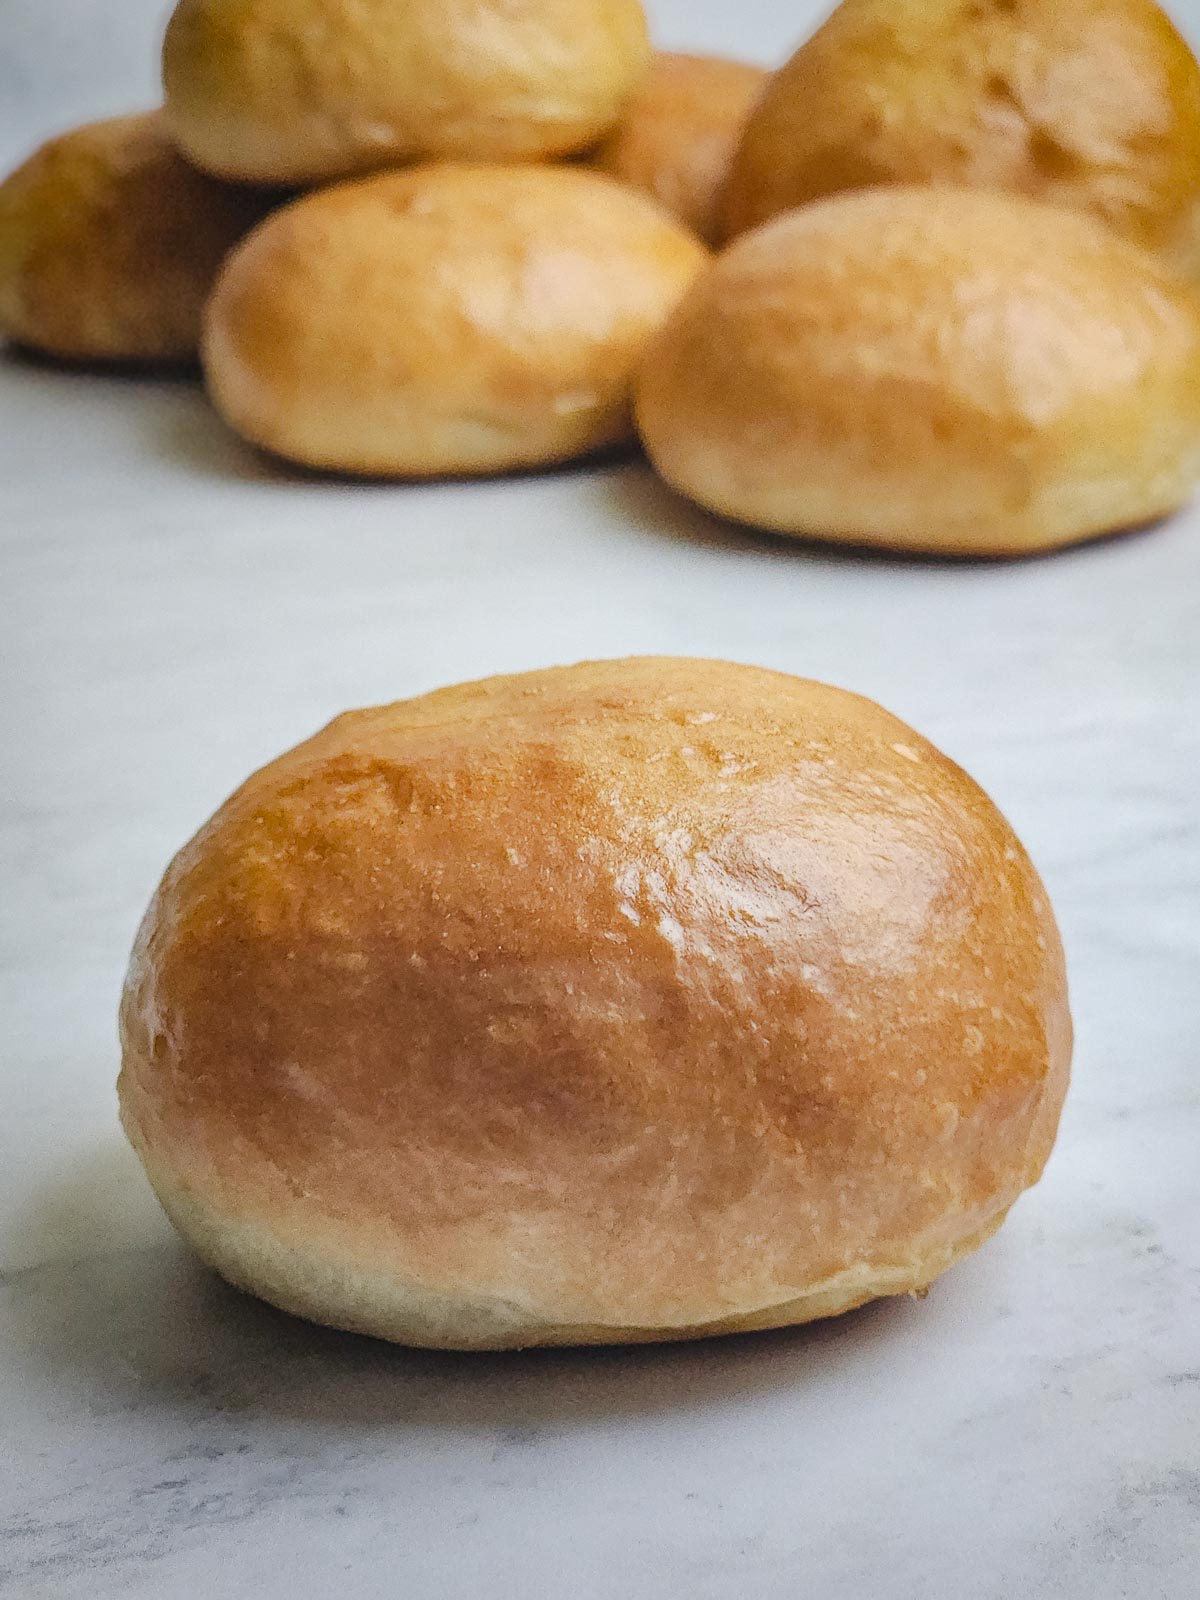
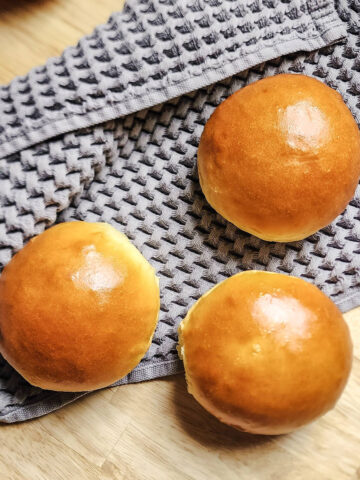
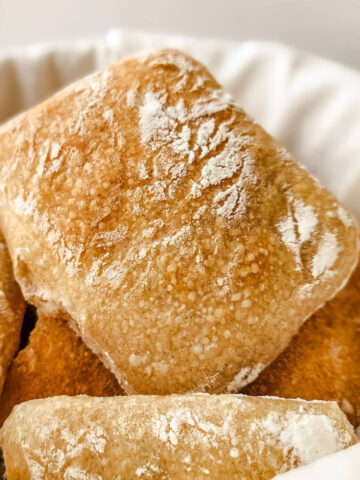
Looking to take your homemade burger game to the next level? Look no further than this recipe for the Ultimate Homemade Hamburger Buns! These are the softest, squishiest, and tastiest burger buns that are sure to do the trick.
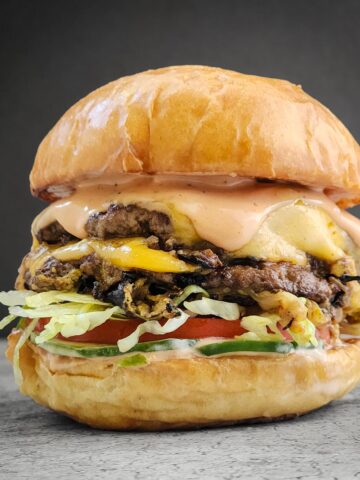
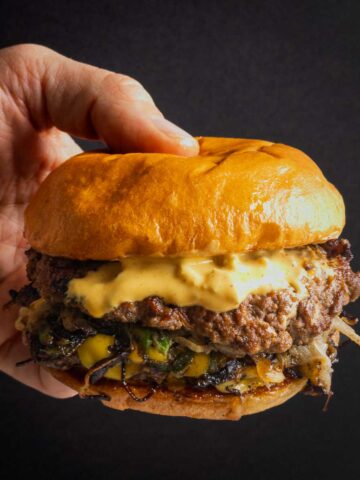
While being notably soft, these buns aren't messing around either. They are sturdy enough to handle thick patties, messy toppings, and everything in between. I actually developed these buns to go with my topping-heavy, Double-Double Animal Style Smash Burger recipe, but they also work great for my recipe for Ultimate Smash Burgers as well. Not only do they stand up to a lot of toppings, they're super delicious!
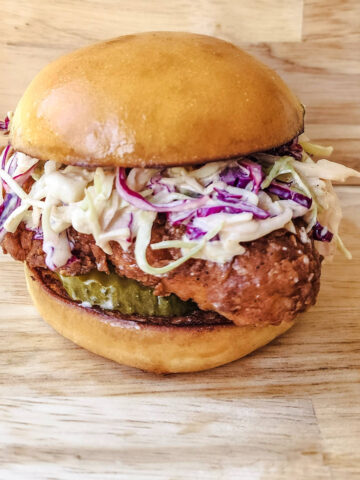
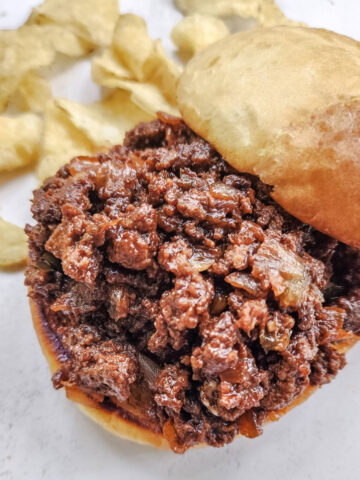
These buns also pair perfectly with my recipes for Buttermilk Fried Chicken Sandwiches, Buffalo Chicken Sandwich with Blue Cheese Slaw, and Quick and Easy Sloppy Joes. Go check them out and let me know what you think!
Jump to:
Ingredients
This recipe uses simple pantry staples for the ingredients.
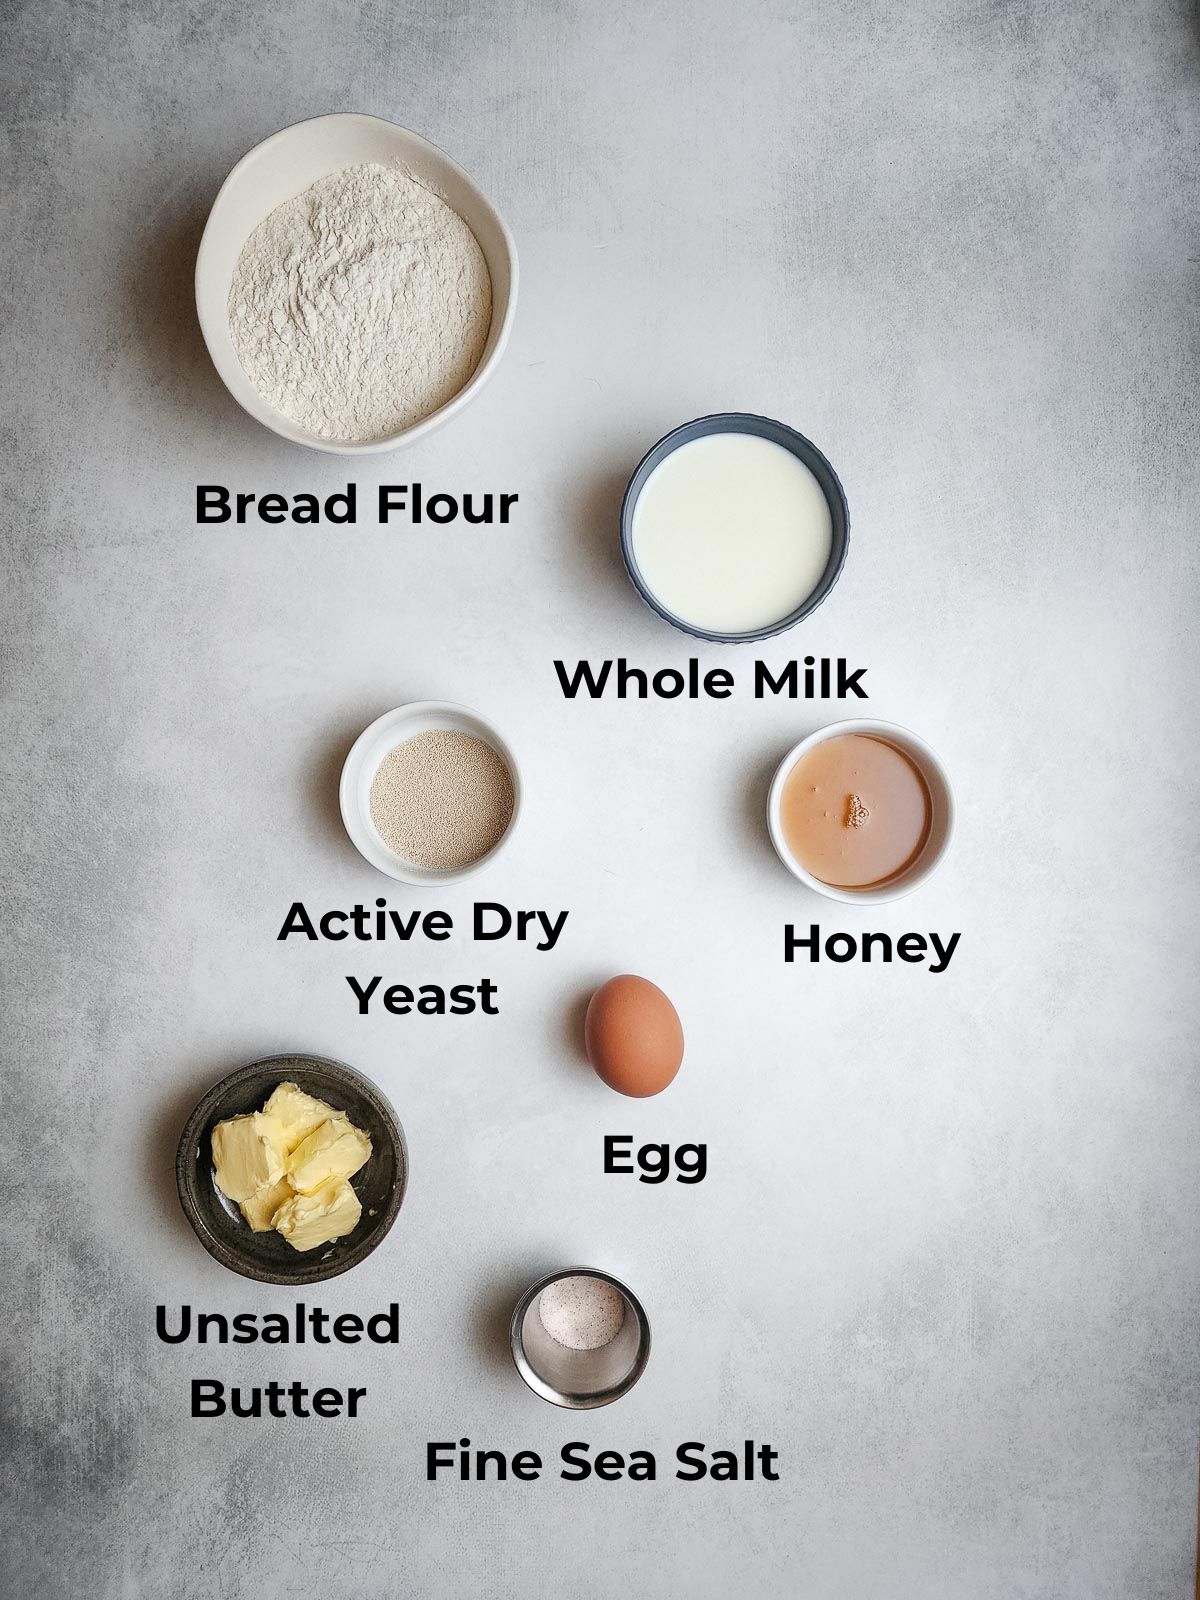
- Whole Milk - Provides hydration and flavor. The extra fat content also helps to soften the dough. Warming the milk before mixing the dough will speed up the proofing process.
- Active Dry Yeast - Crucial for proofing the dough.
- Honey - Both activates the yeast by providing sugars to begin fermentation/proofing, it also adds a touch of underlying sweetness.
- Bread Flour - Bread flour has more protein in it than all-purpose flour, and it provides more structure and softness to the buns. All-purpose flour can be substituted in equal amounts, but it won't be as soft.
- Fine Sea Salt - Brings out all of the other flavors in the buns. Fine sea salt disperses and dissolves into the dough quicker than kosher salt, but an equal weight (not volume!) of kosher salt can be used.
- Unsalted Butter - Provides moisture, richness, and flavor. The fat content also helps to soften the buns.
- Egg - Gives some structure for the dough while also adding some fat content, which gives a really soft and supple dough.
- Egg White - For the egg wash.
- Splash Water - For the egg wash.
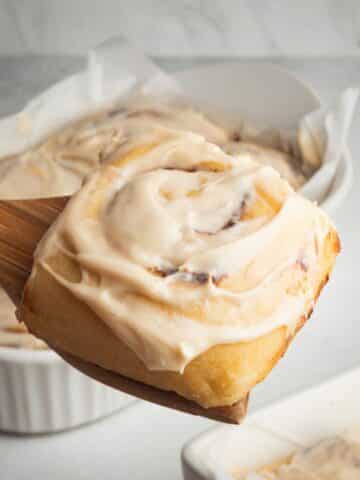
For more homemade bread ideas, check out my reader-favorite Handmade Sub Rolls and my Italian Herb and Cheese Bread (Sub Rolls) for a herby, cheesy variation.
Baker's Percentages
While you can certainly use volume measurements (cups and tablespoons, etc.), using a kitchen scale and weight measurements (grams and milliliters, etc.) will get you significantly more consistent and repeatable results every single time.
At about 54% hydration level, this is a lower to medium-hydrated dough. This percent doesn't factor in the milkfat and water that are contained in the unsalted butter or the egg, as those are relatively difficult to accurately measure. This dough really starts to come together and smooth out once you add in the unsalted butter and egg.
| Ingredients | Metric | Volume | Baker's Percentage |
|---|---|---|---|
| Whole Milk | 185 grams | ¾ Cup | 54.4% |
| Active Dry Yeast | 7 grams | 2 teaspoons | 2.0% |
| Honey | 30 grams | 1 ½ Tablespoons | 8.8% |
| Bread Flour | 340 grams | 2 ¾ Cups | 100% |
| Fine Sea Salt | 10 grams | 2 teaspoons | 2.9% |
| Unsalted Butter | 70 grams | 5 Tablespoons | 20.6% |
| Egg | 1 Large Egg (About 50 grams) | 1 Egg | 14.7% |
This dough yields one dough ball that is approximately 680 grams, which will give you eight buns at about 75-80 grams each. There might be a little extra dough when you're done shaping the buns, but it's always better to have a little more, than not enough.
Anything more than 80 gram dough balls yielded buns that were too tall and/or dense. This made for burgers and sandwiches that were starting to get too "bready." I found that weighing the individual buns out to around 75 grams was the sweet spot.
How to Make the Ultimate Homemade Hamburger Buns
The instructions below will take you through properly mixing the dough, all the way to soft, squishy, golden-brown, burger bun perfection!
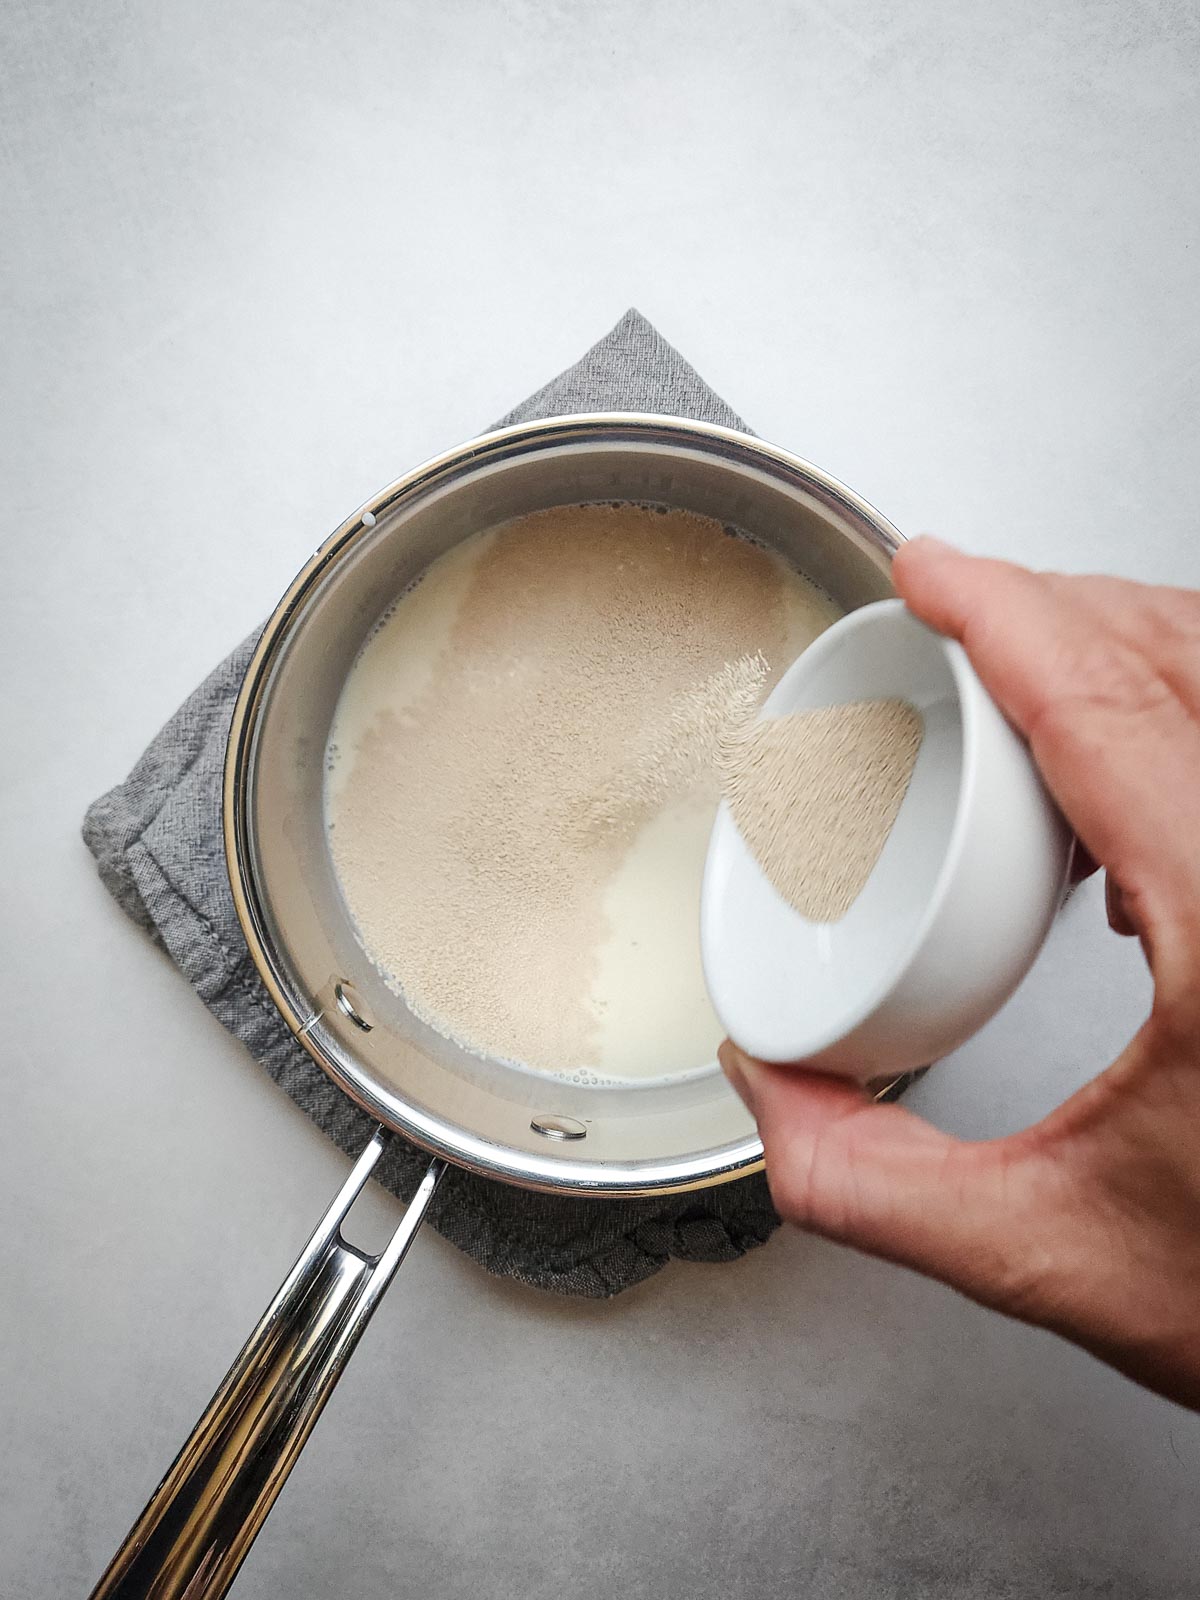
Step 1: Combine the warm milk, honey, and yeast and allow to bloom for 5 to 10 minutes.
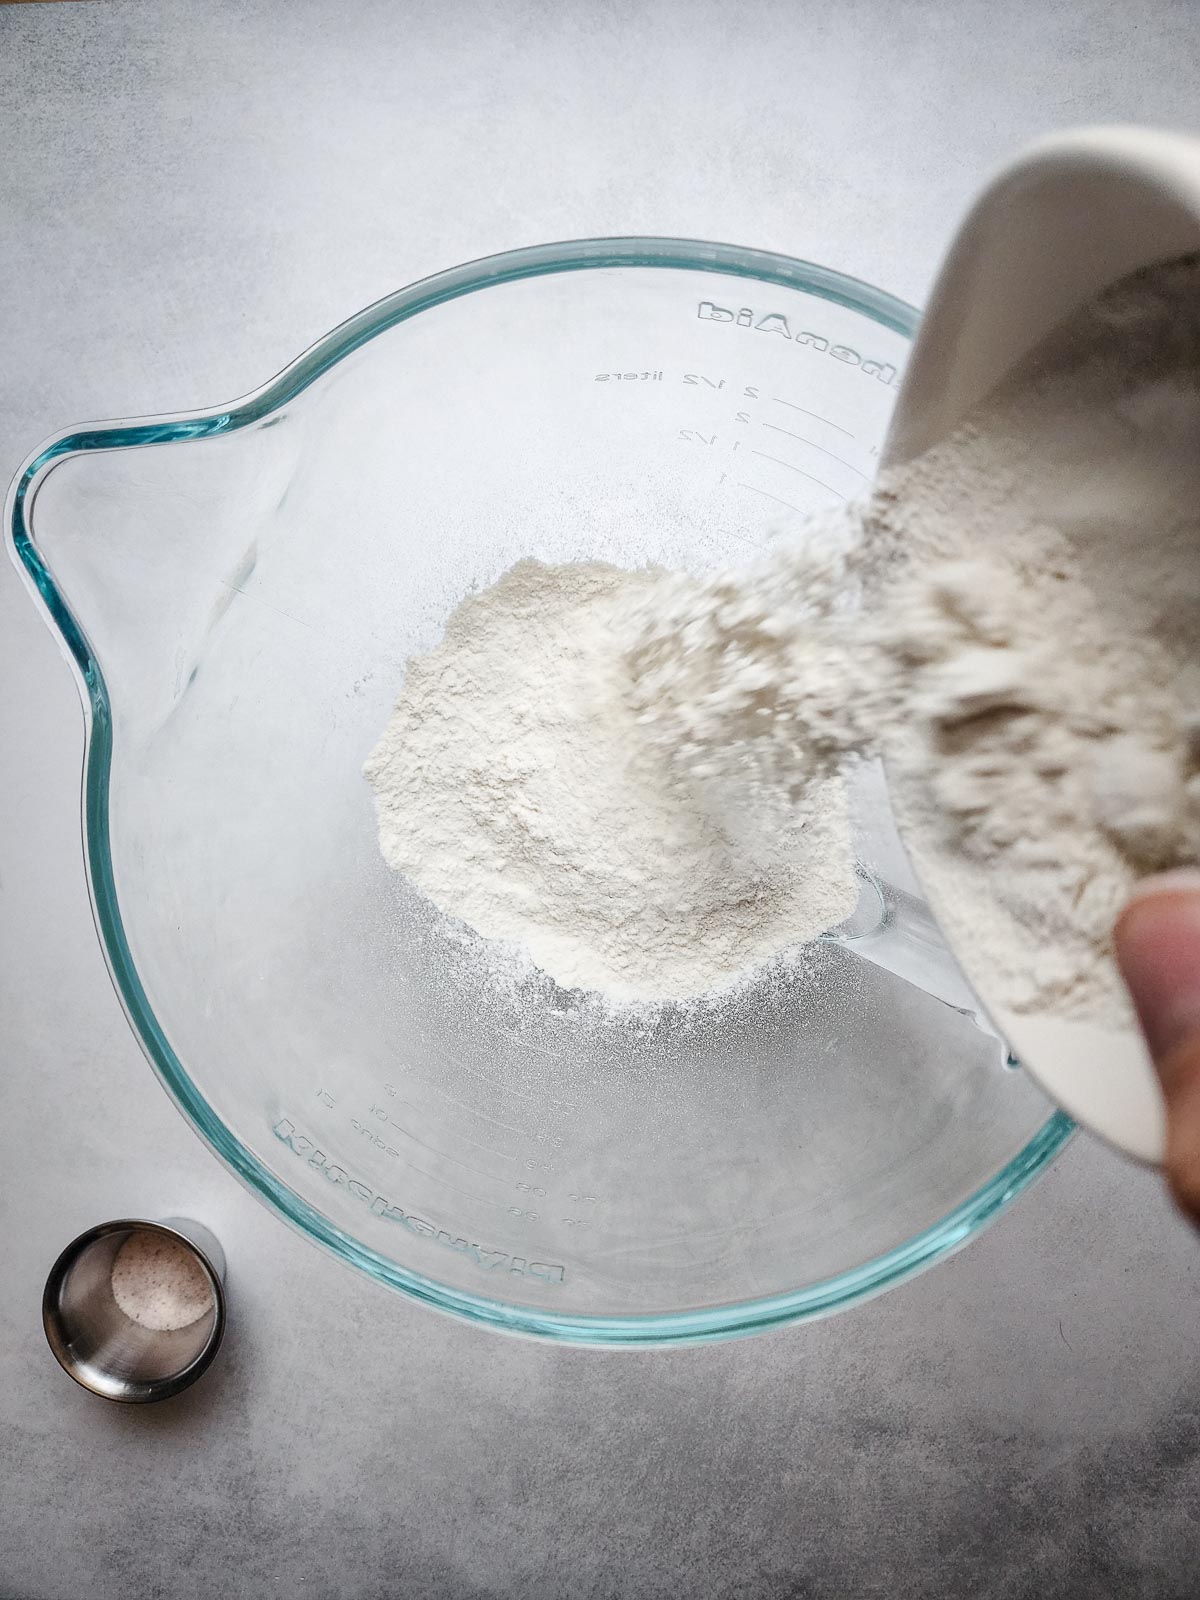
Step 2: Combine the bread flour and fine sea salt in the bowl of a stand mixer.
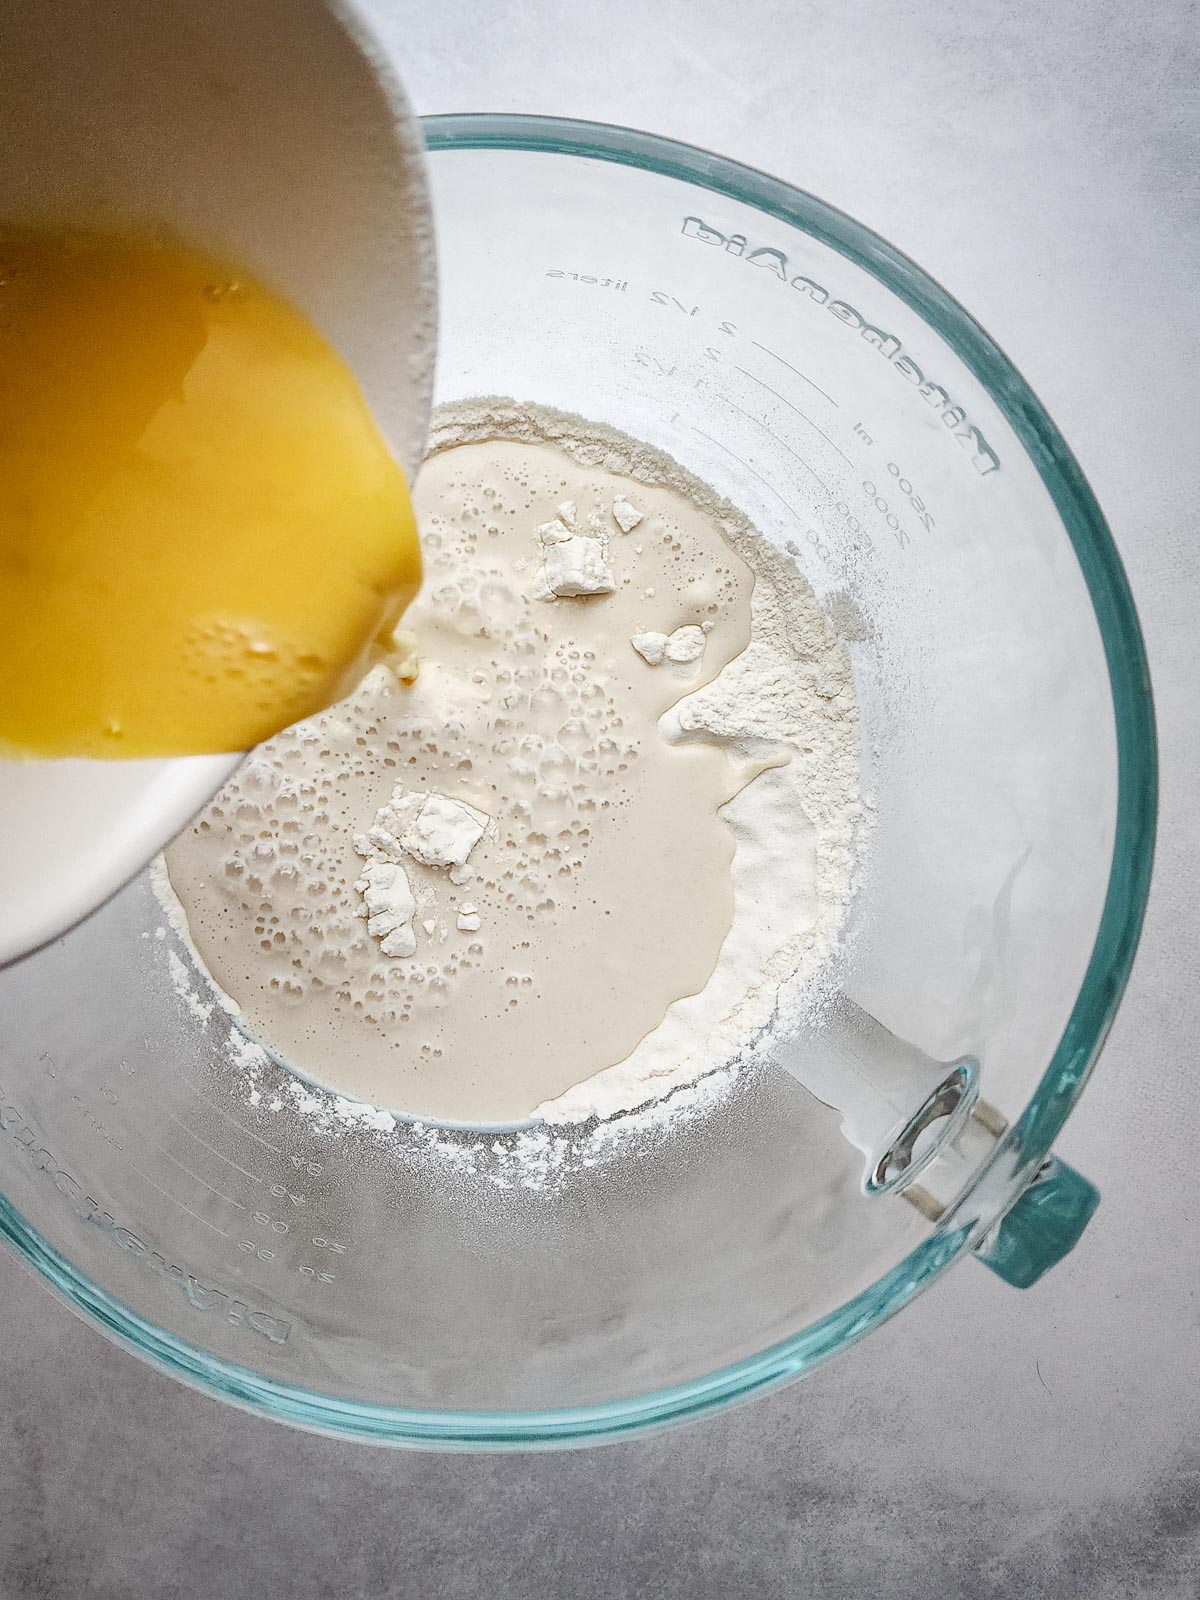
Step 3: Add the wet ingredients to the dry, including the egg. Combine on low speed until a shaggy dough forms.
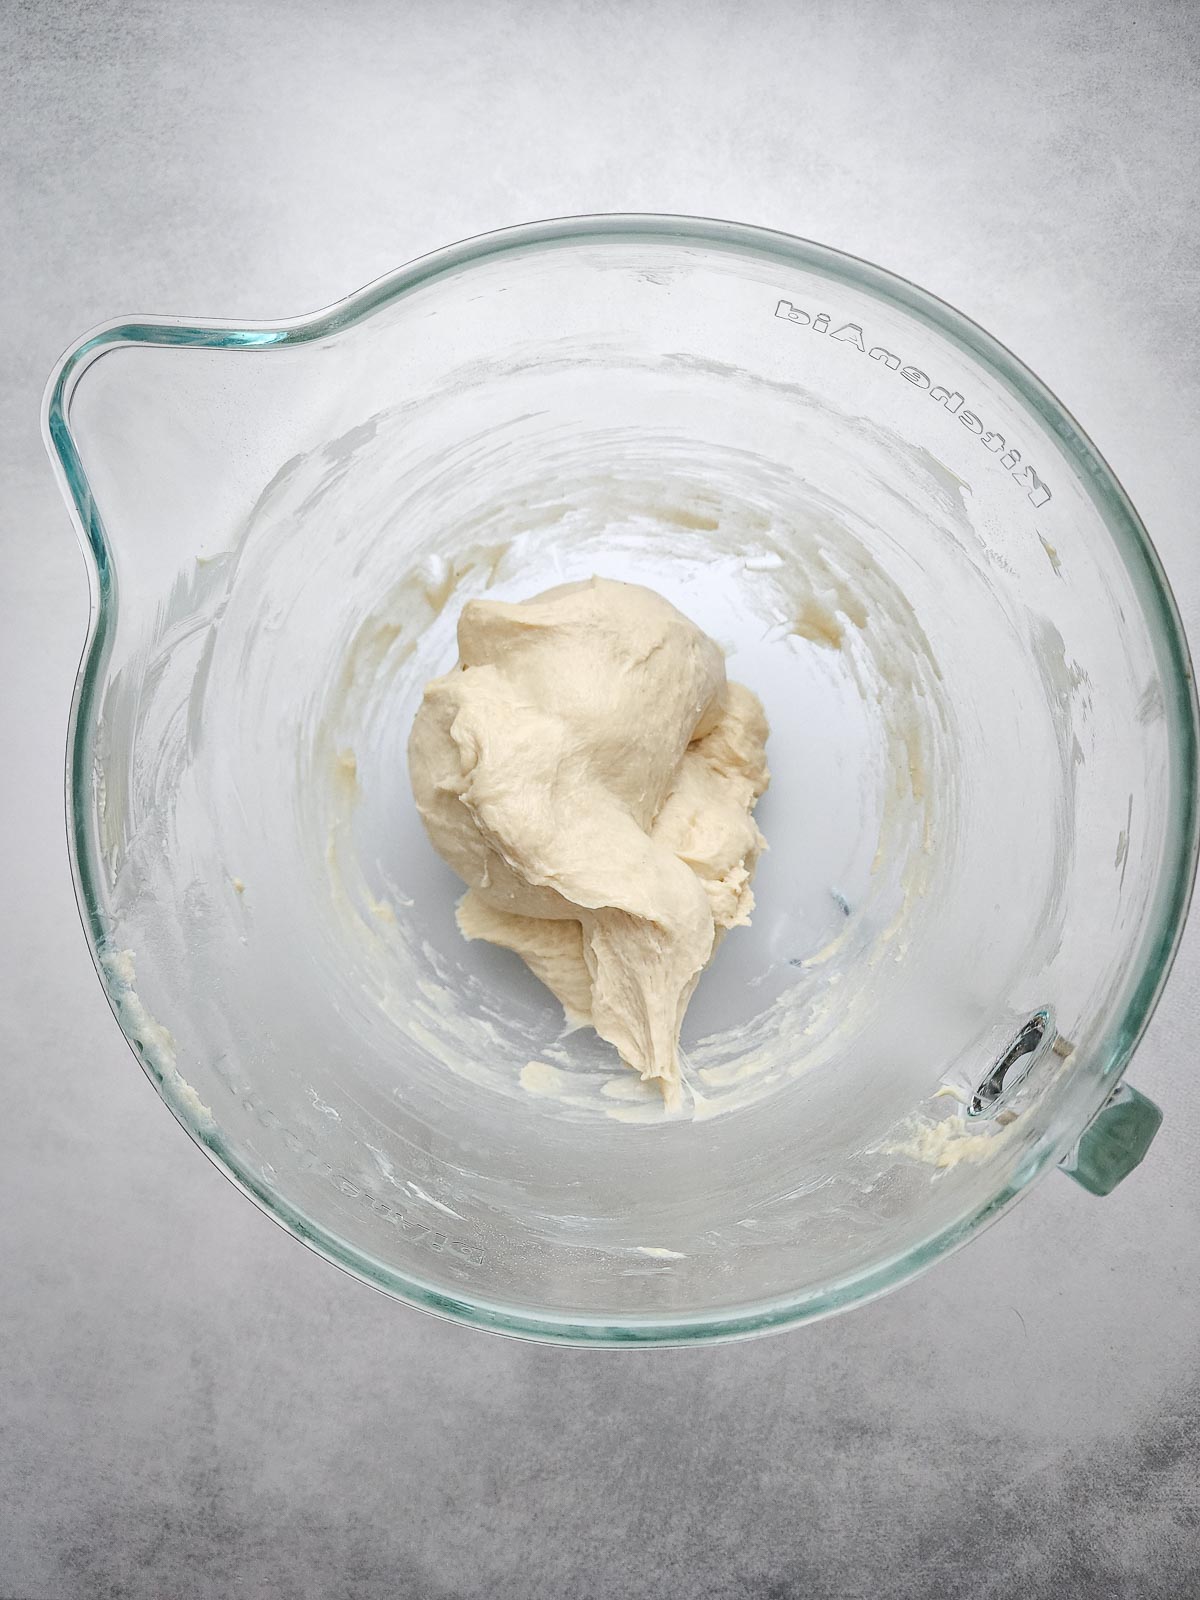
Step 4: Add in the softened butter and increase the speed to medium. Knead for 8 to 10 minutes until the dough is very smooth and pulls away from the sides of the bowl.
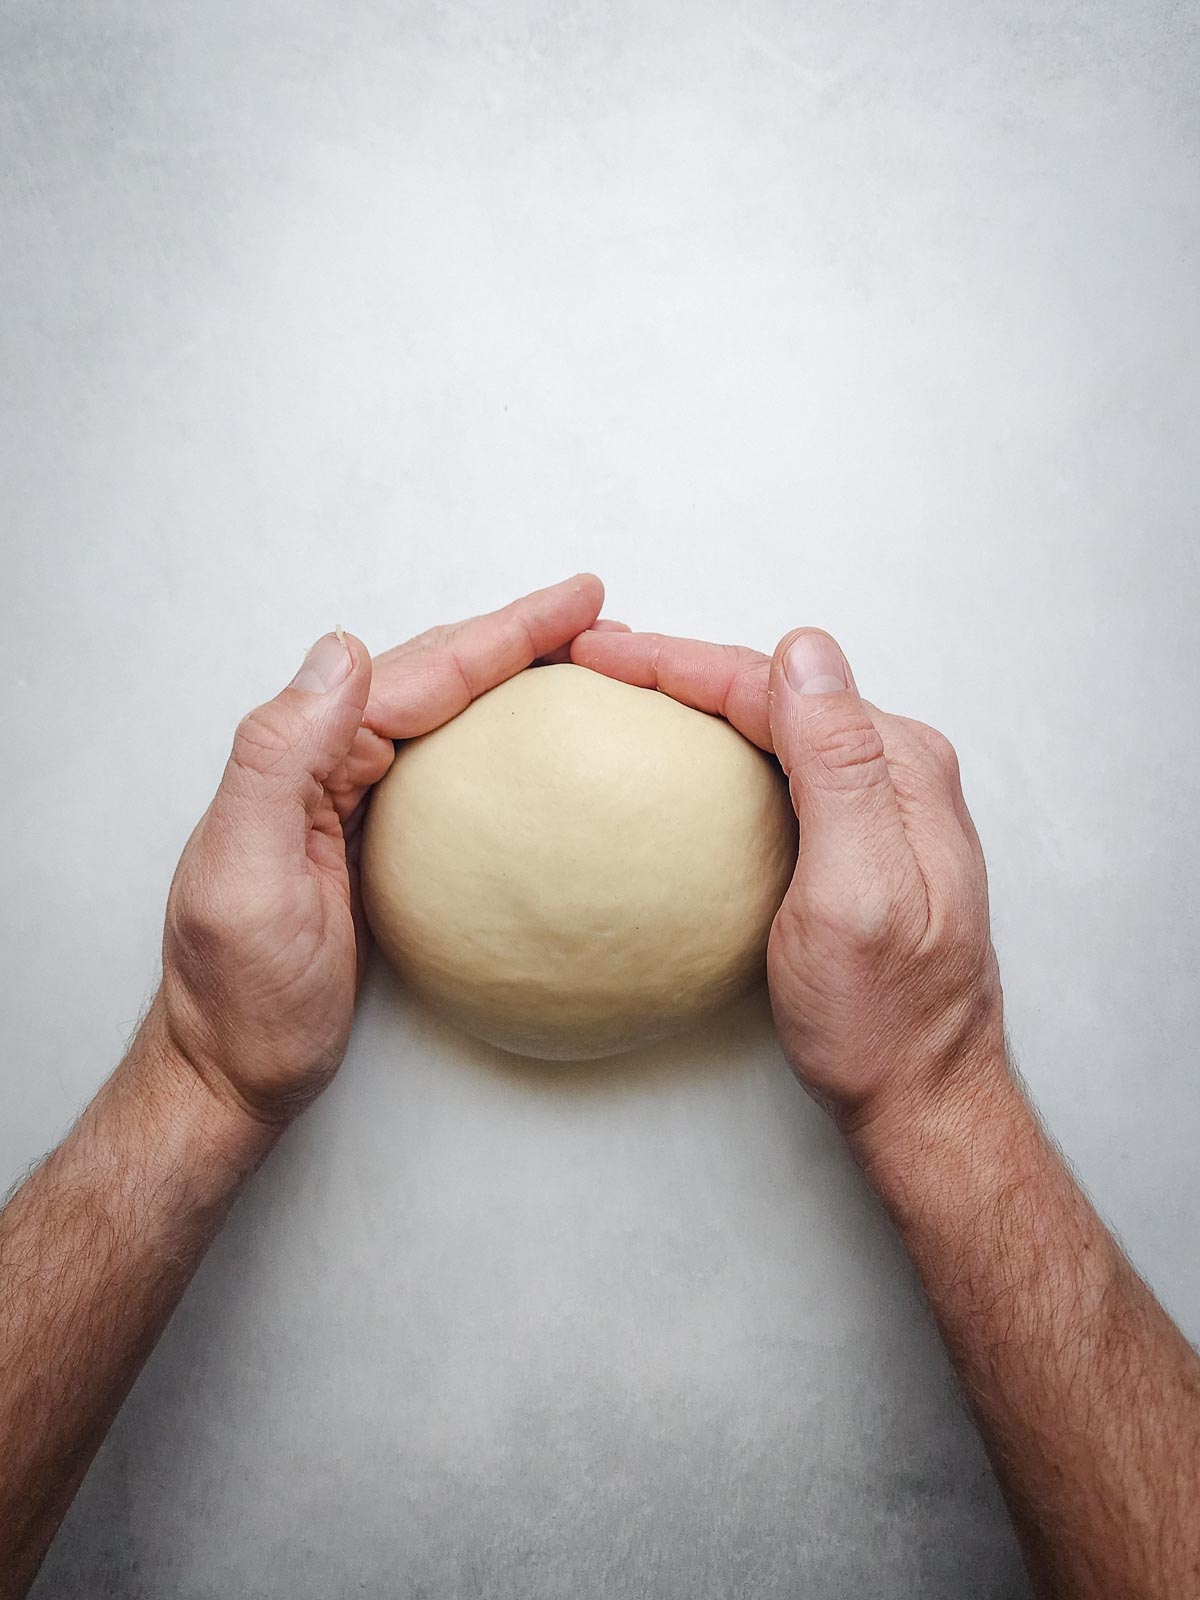
Step 5: Turn the dough out onto an un-floured work surface and shape into a ball. Transfer to a bowl and cover. Proof for 1-hour until doubled in size.
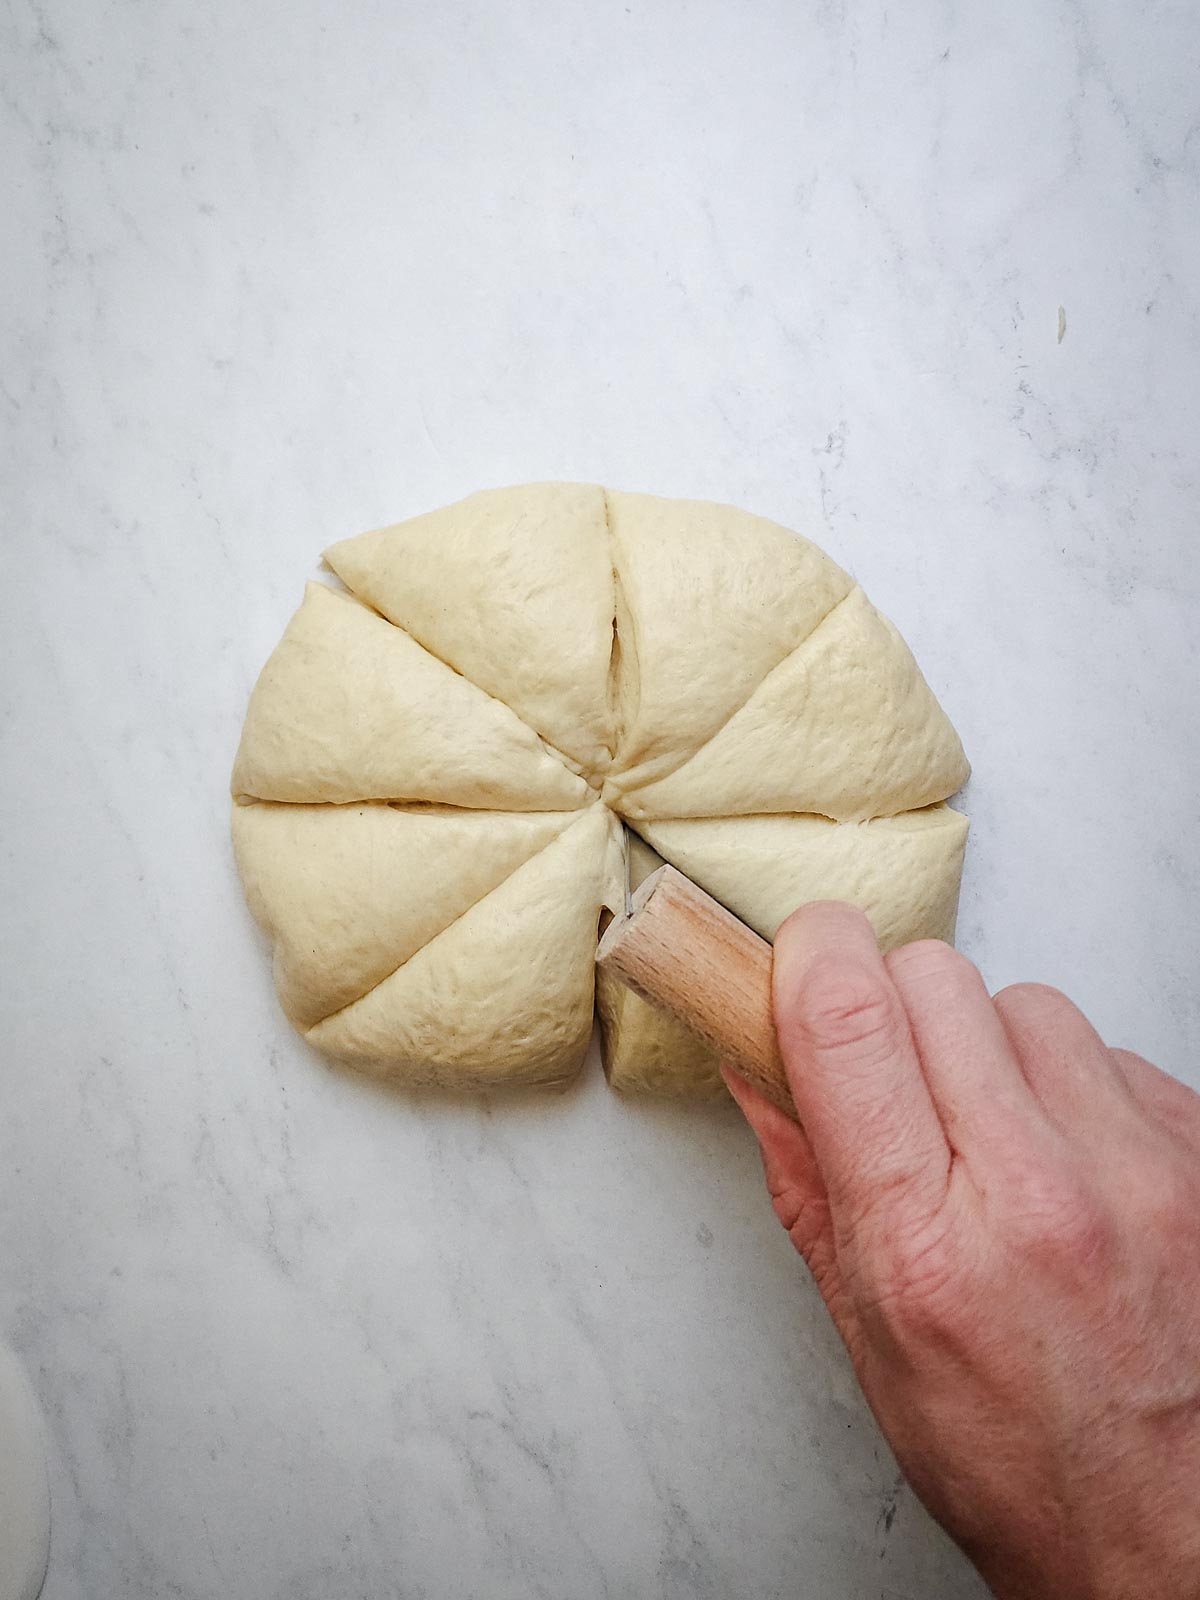
Step 6: Punch the dough down, and roll back into a ball. Divide into 8 equal sized pieces, about 75 grams each.
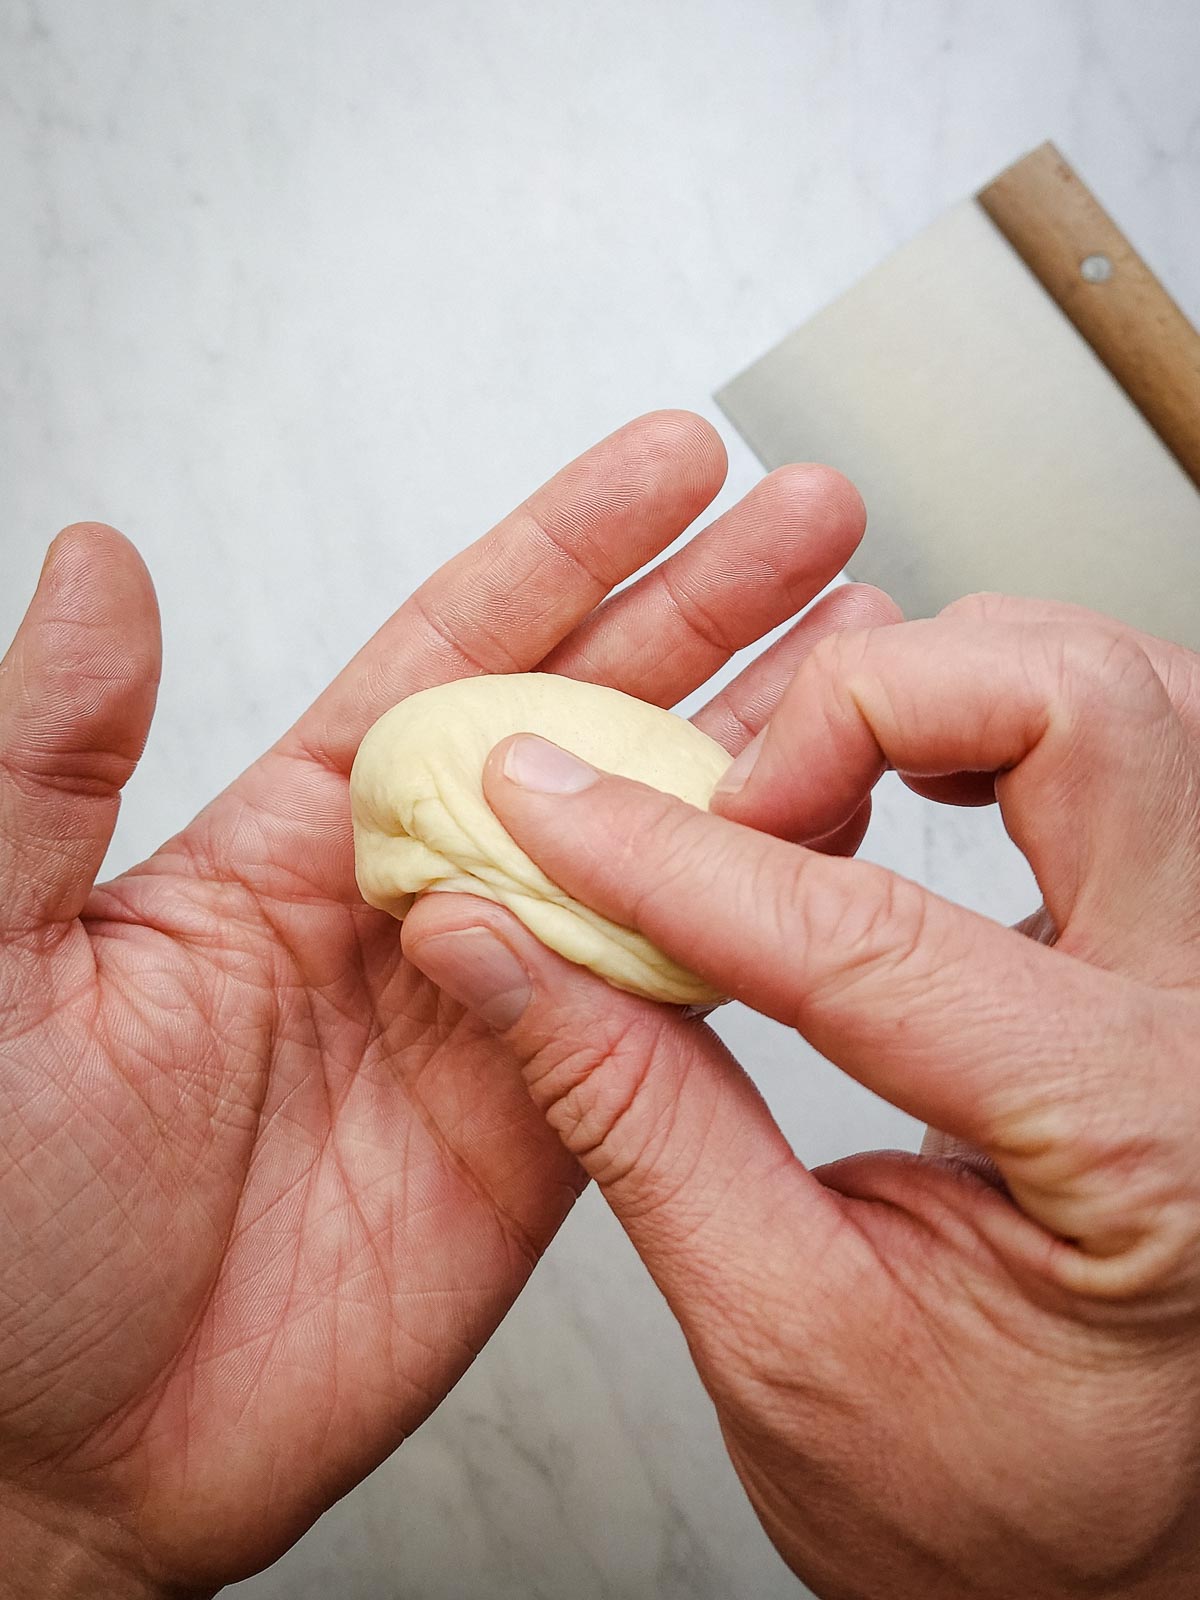
Step 7: Roll the individual dough pieces together into ball shapes and pinch the bottom seams together.
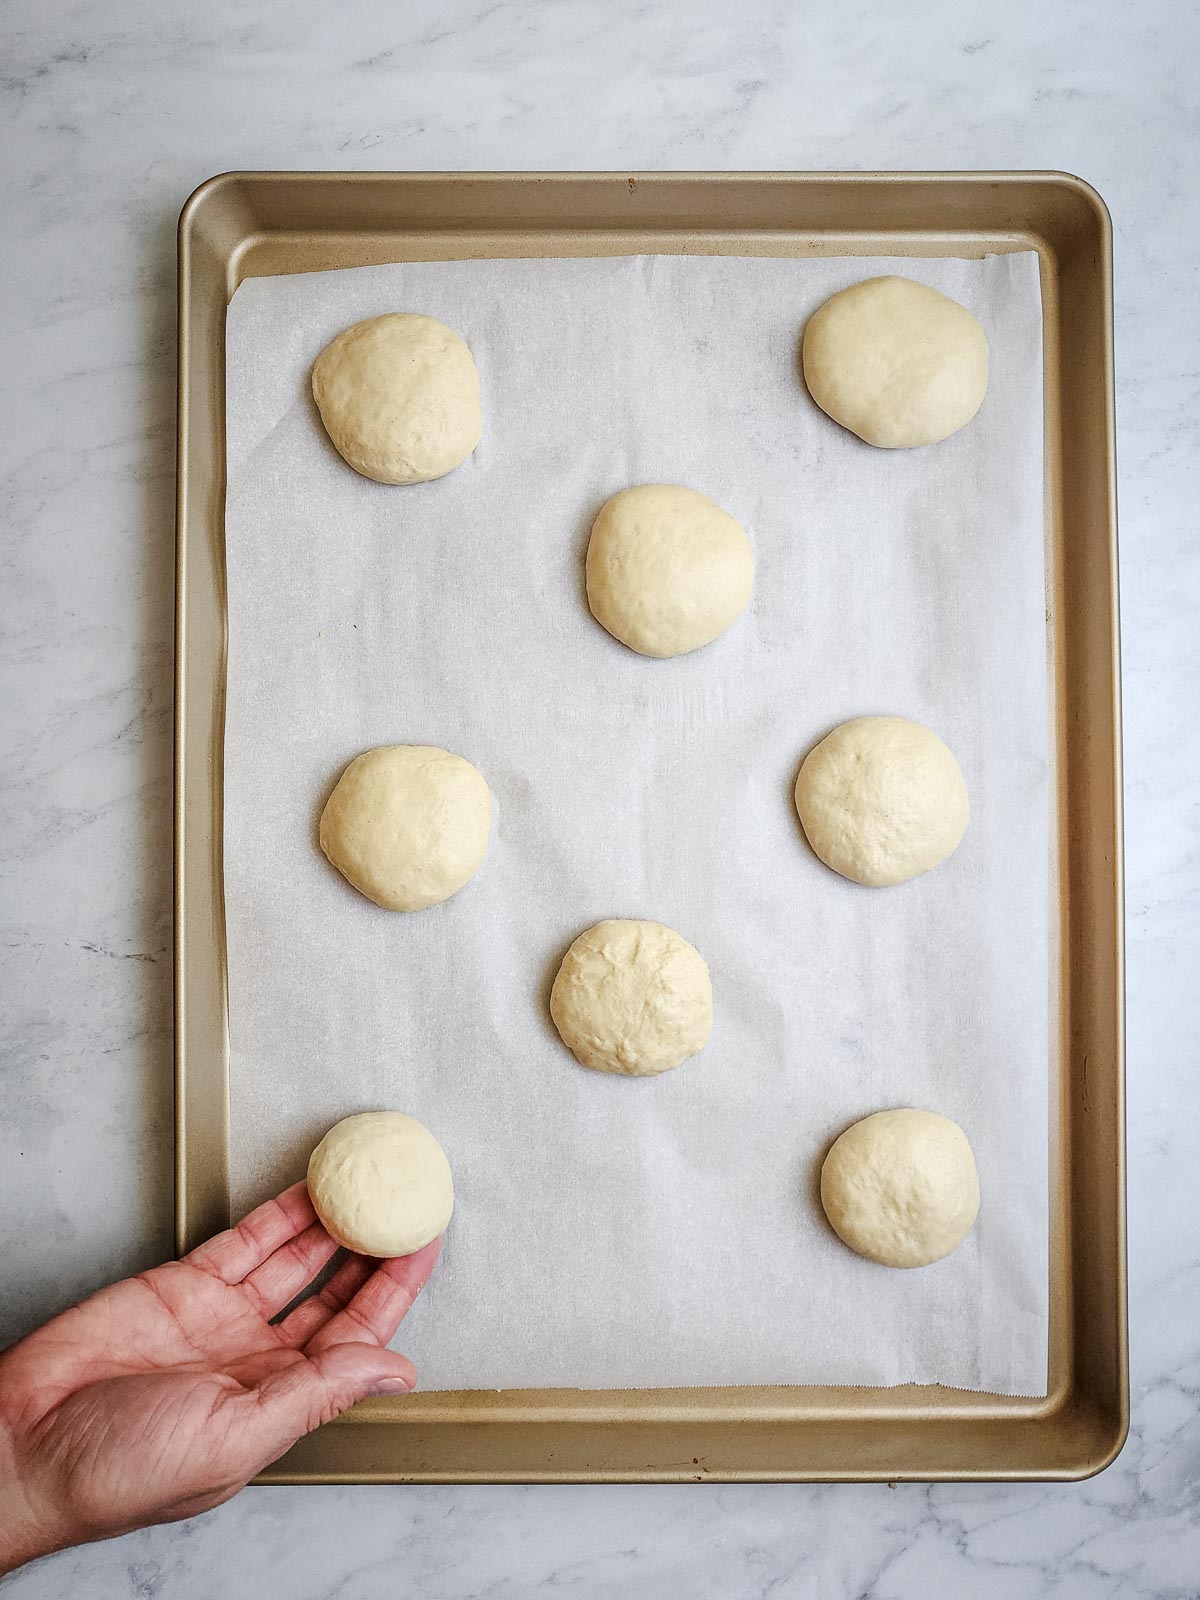
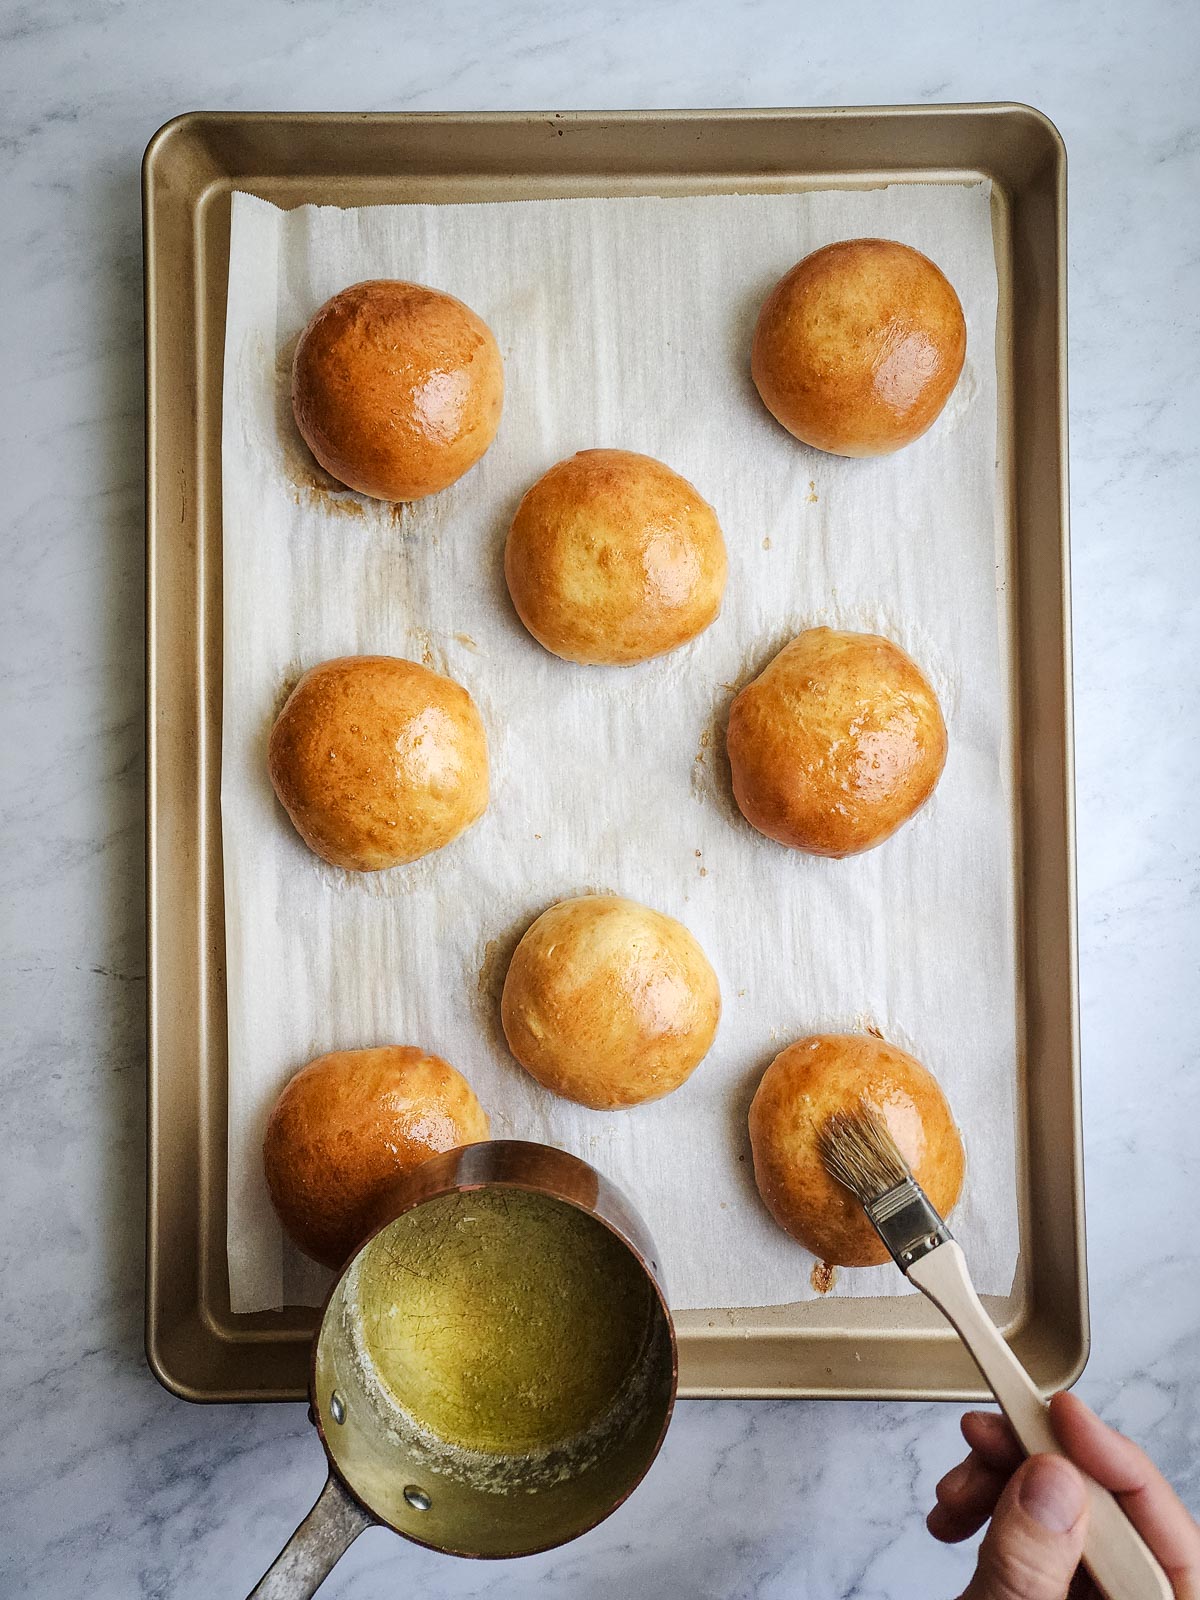
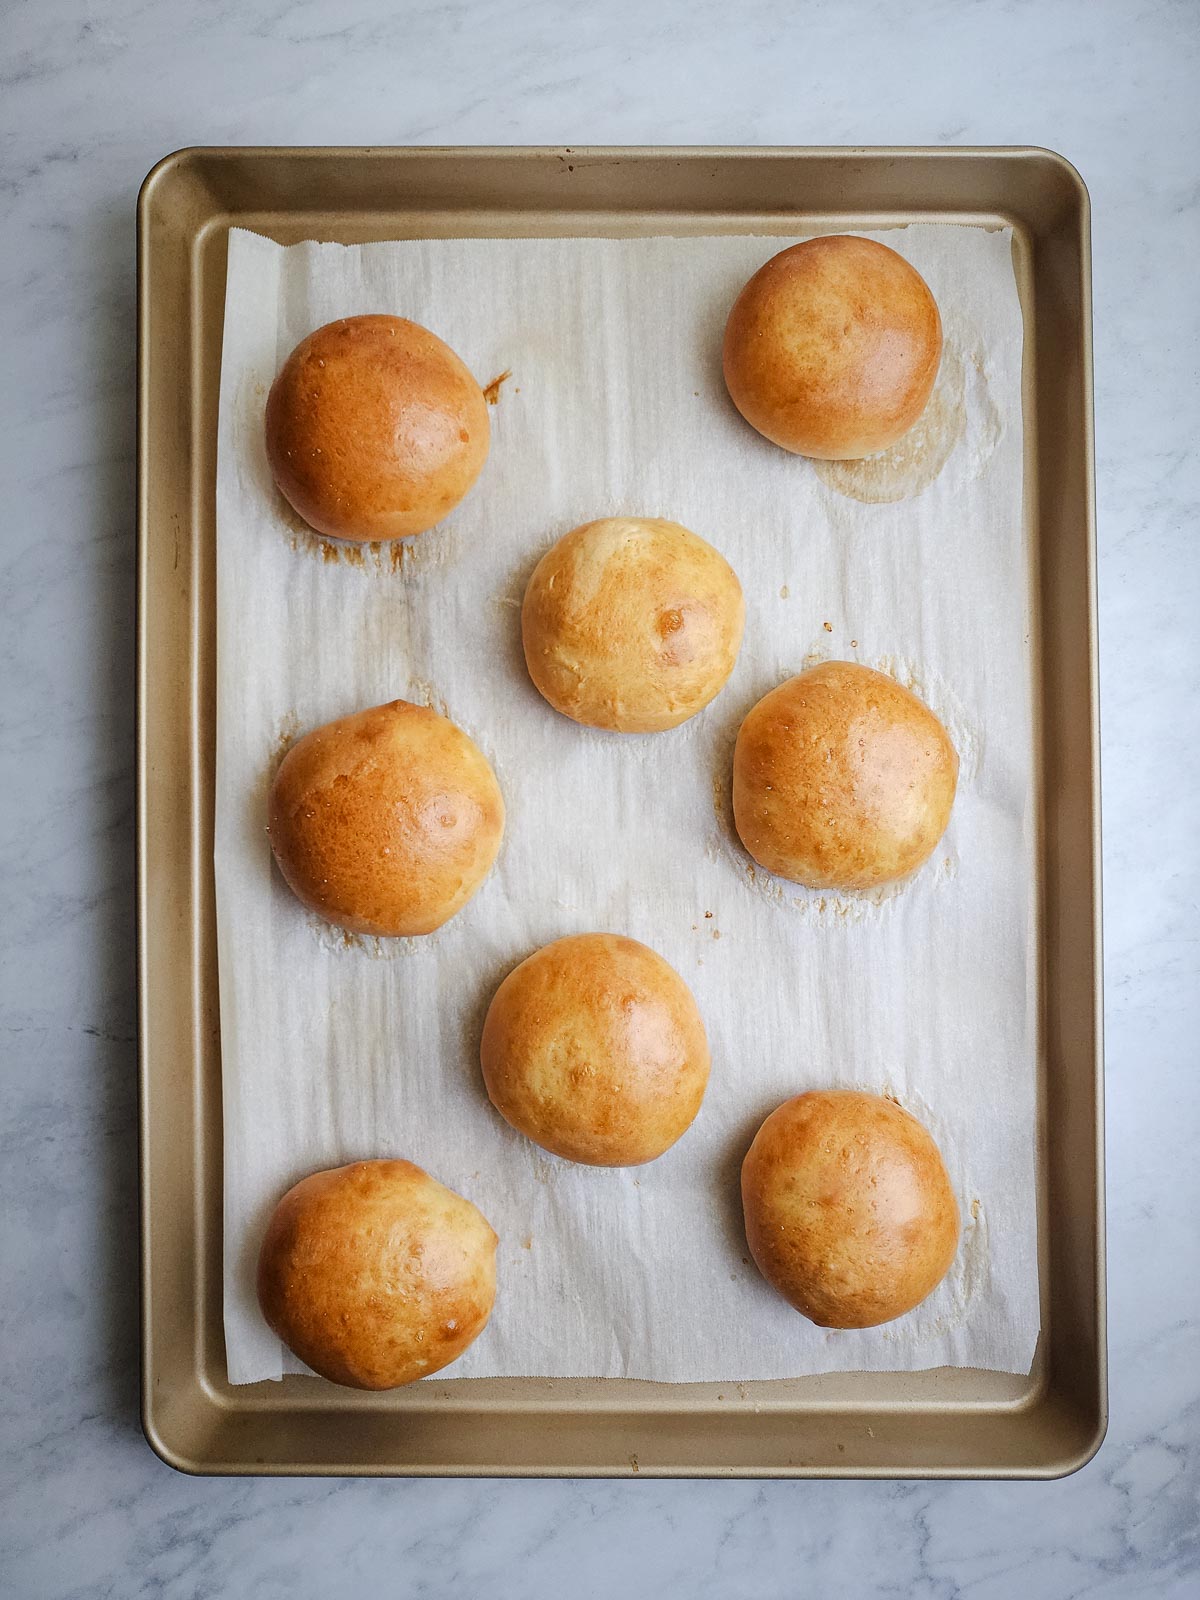
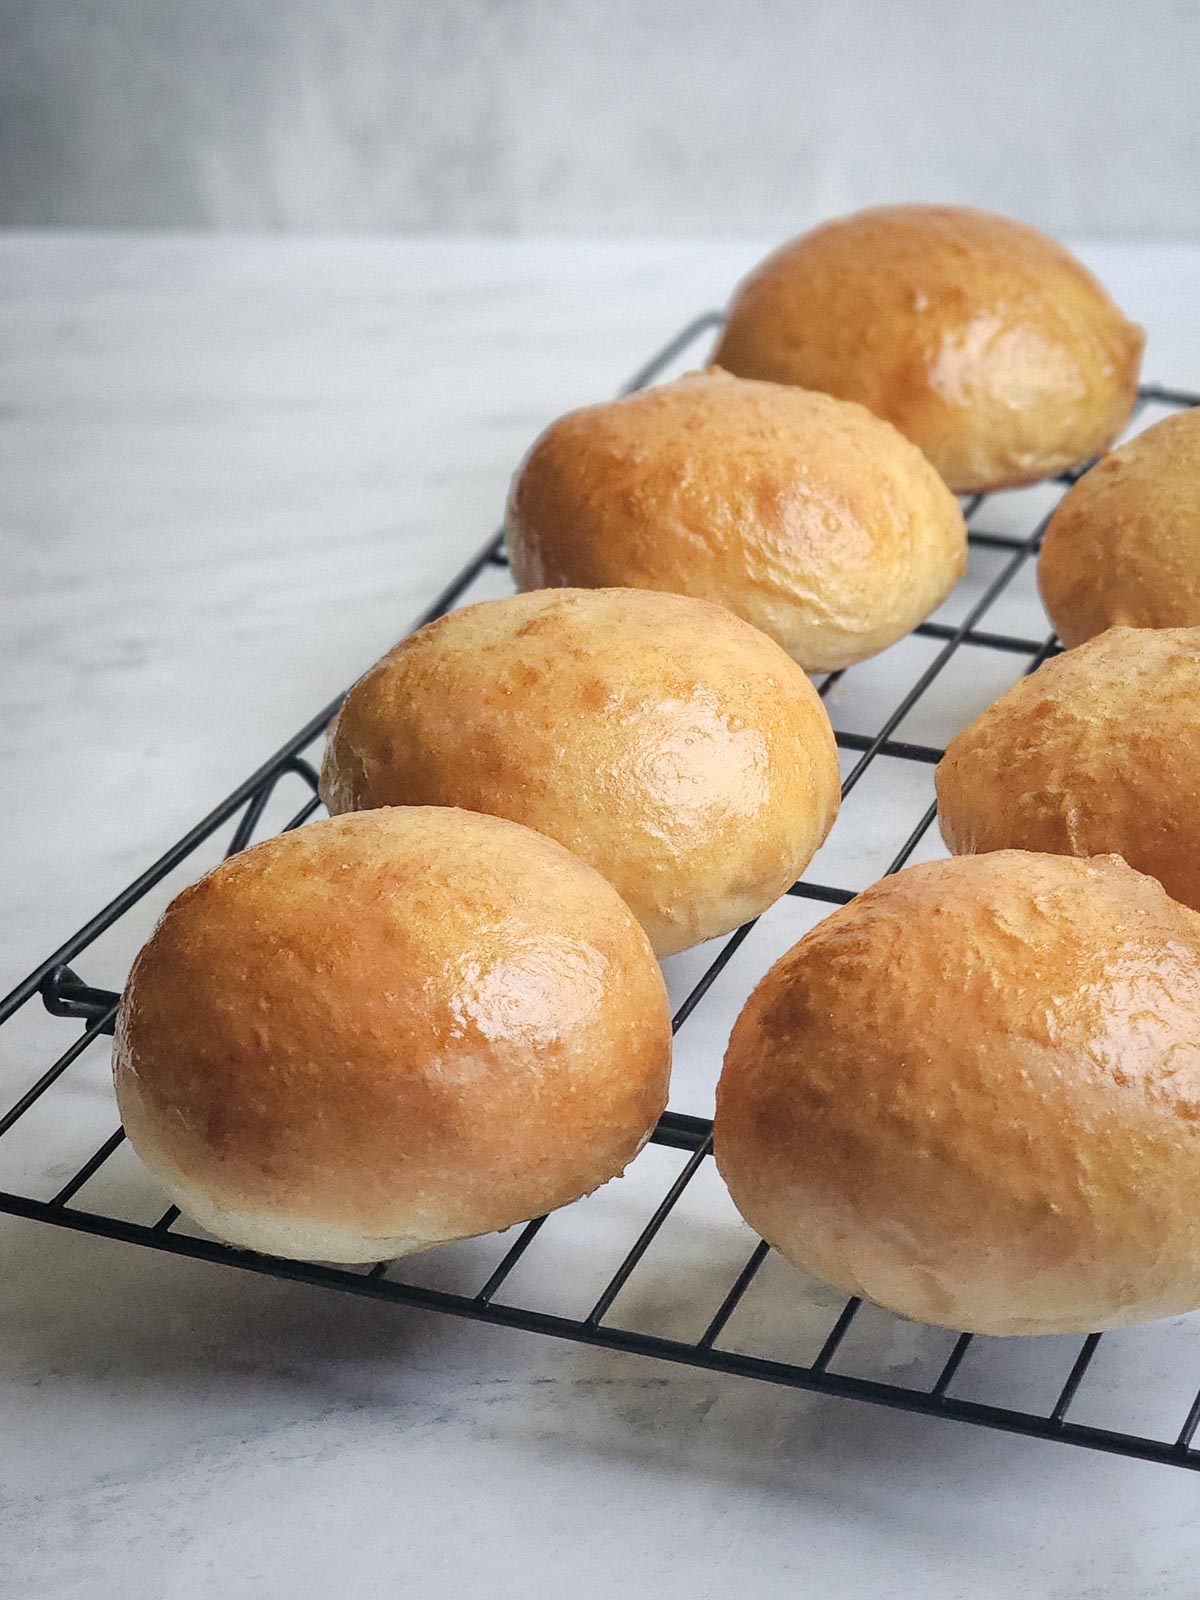
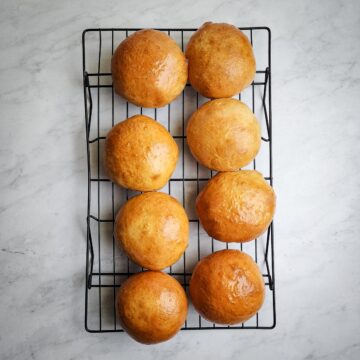
Step 8: Flatten the balls into disks and stagger them on a parchment-paper lined baking sheet. Spacing them in a line allows the buns to touch while baking and causes them not to brown all the way around the edges.
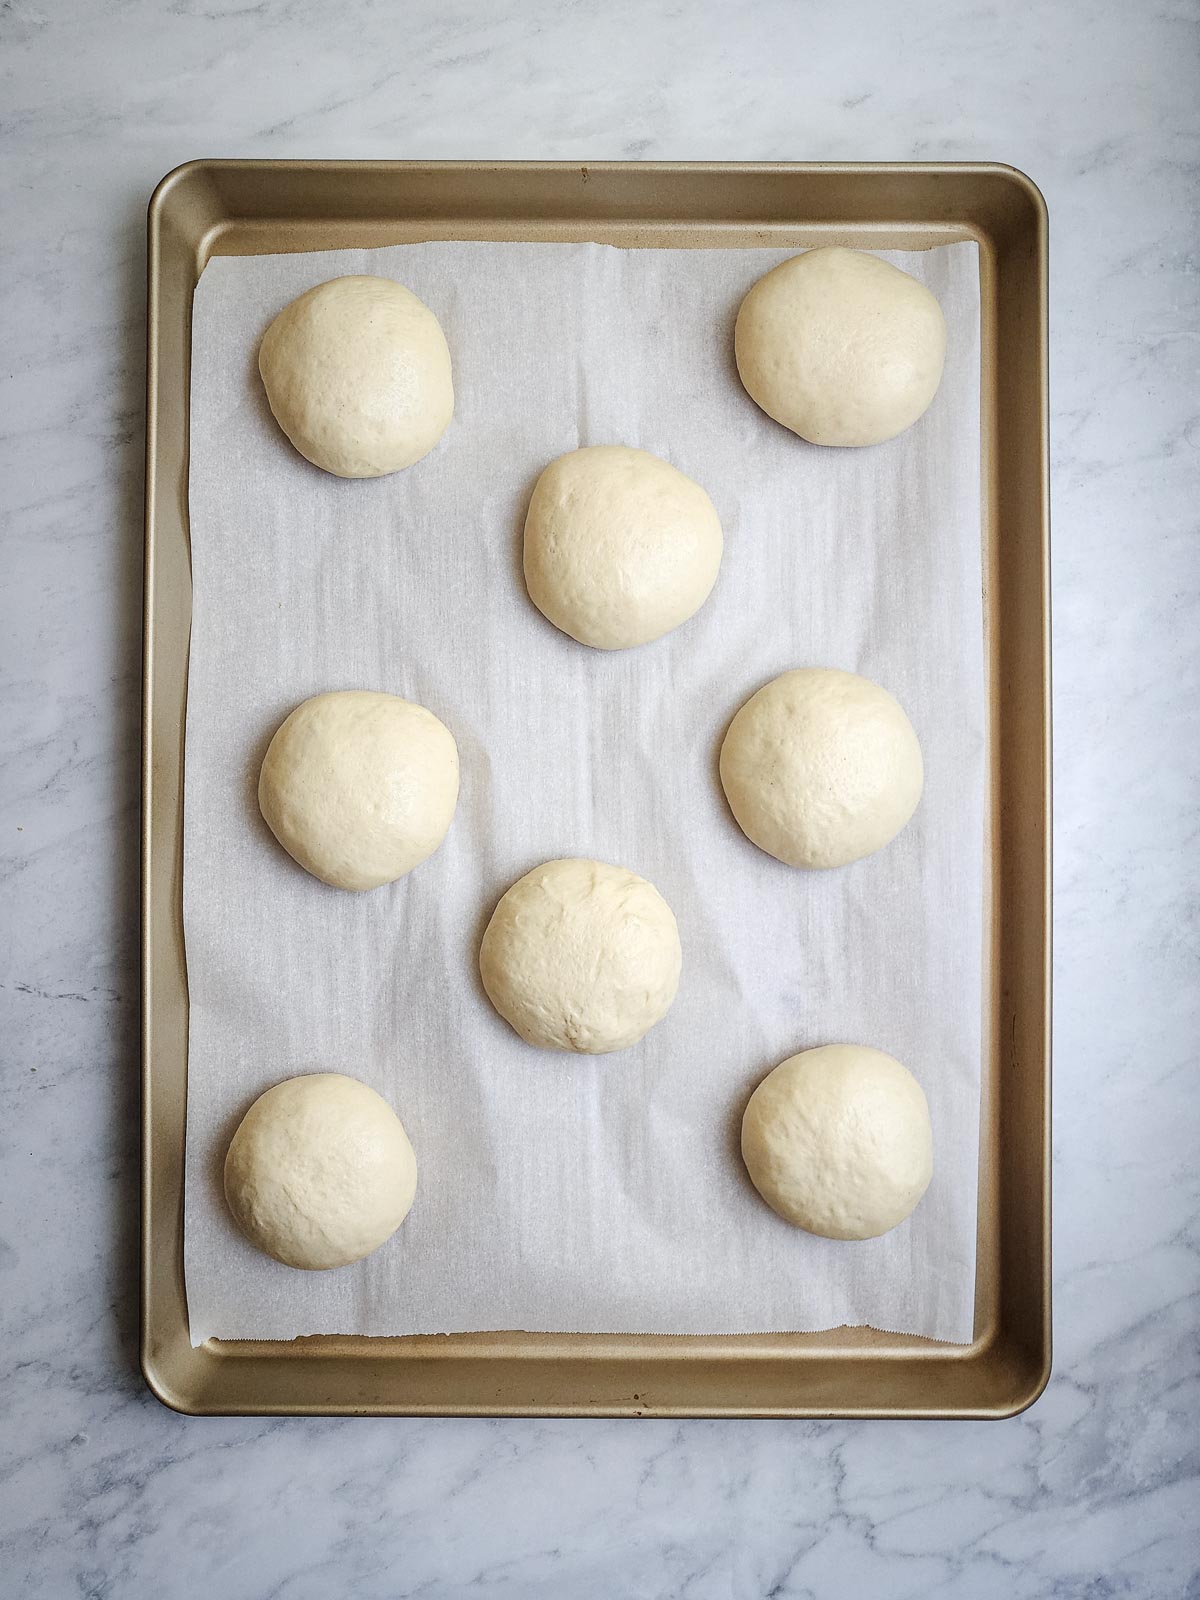
Step 9: Cover with lightly greased plastic wrap (spray oil works the best) and proof for 1 more hour. Preheat the oven to 375°F with 15 minutes remaining.
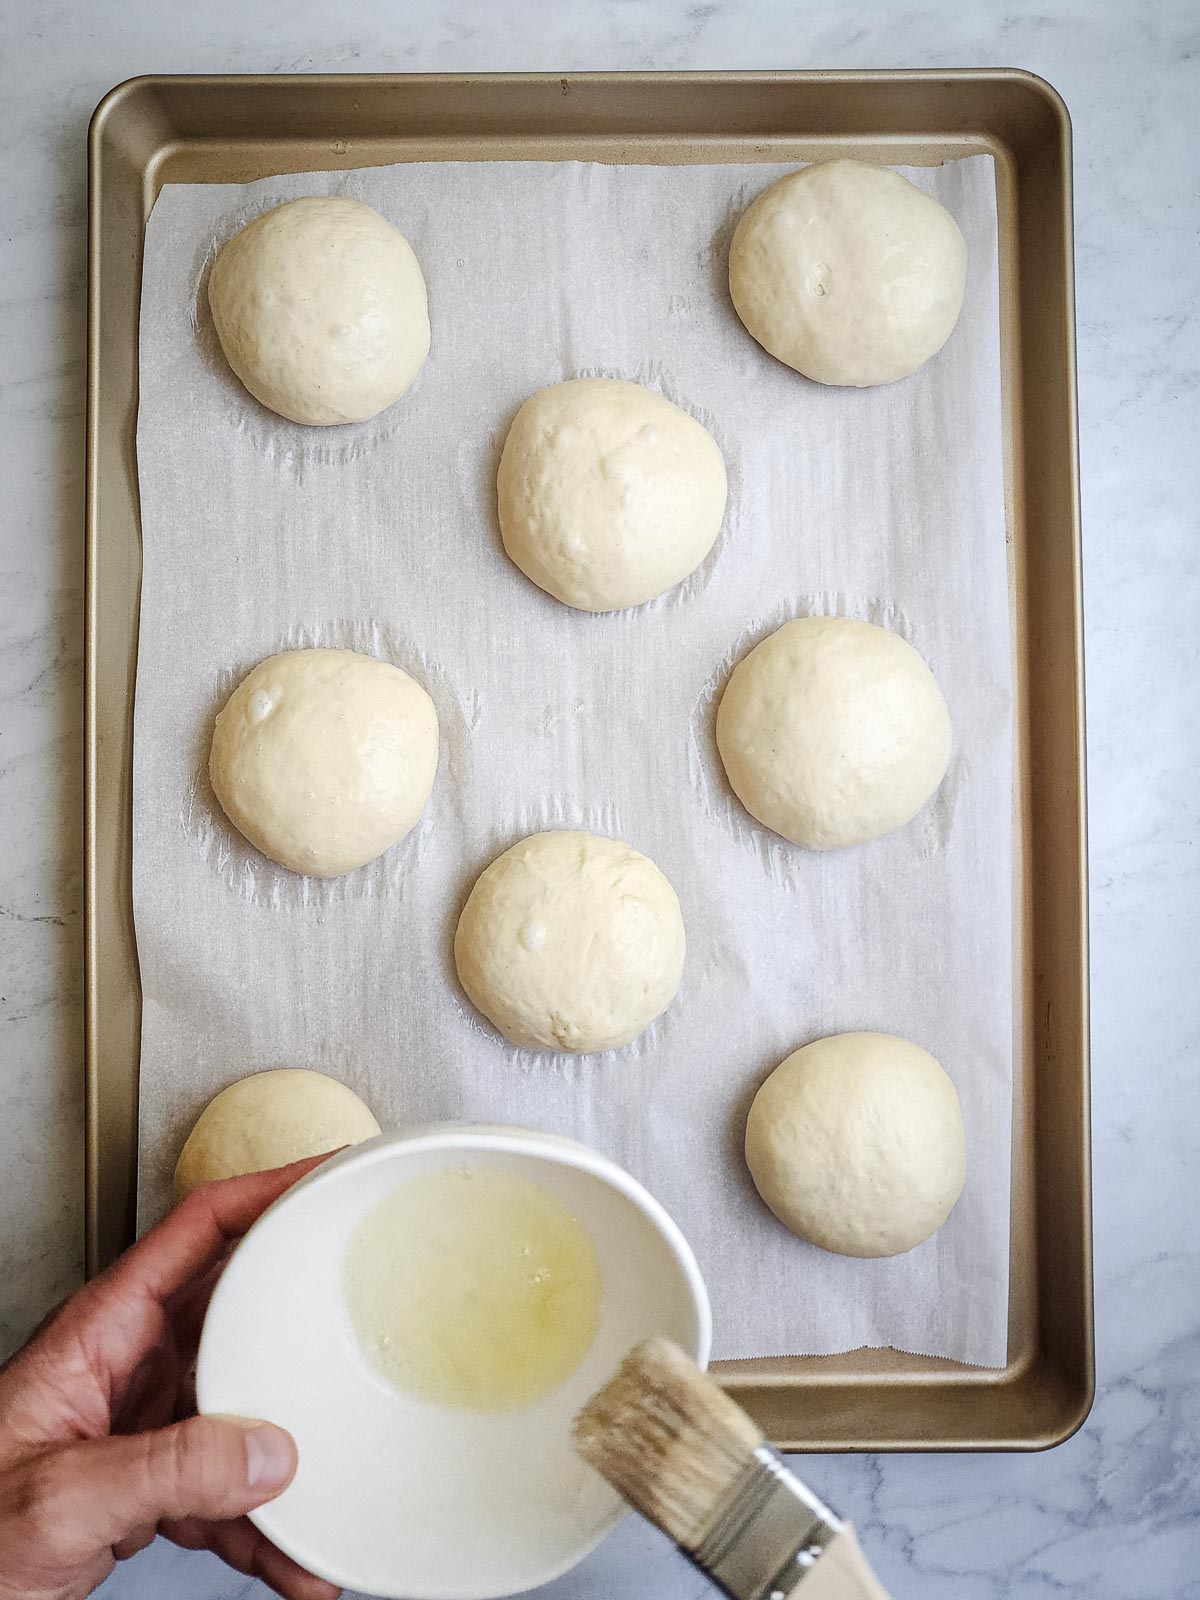
Step 10: Uncover the buns and gently brush with egg wash to cover. Optionally, top with sesame seeds, poppy seeds, or flaky salt if desired.
Step 11: Bake for 15 to 18 minutes until golden brown.
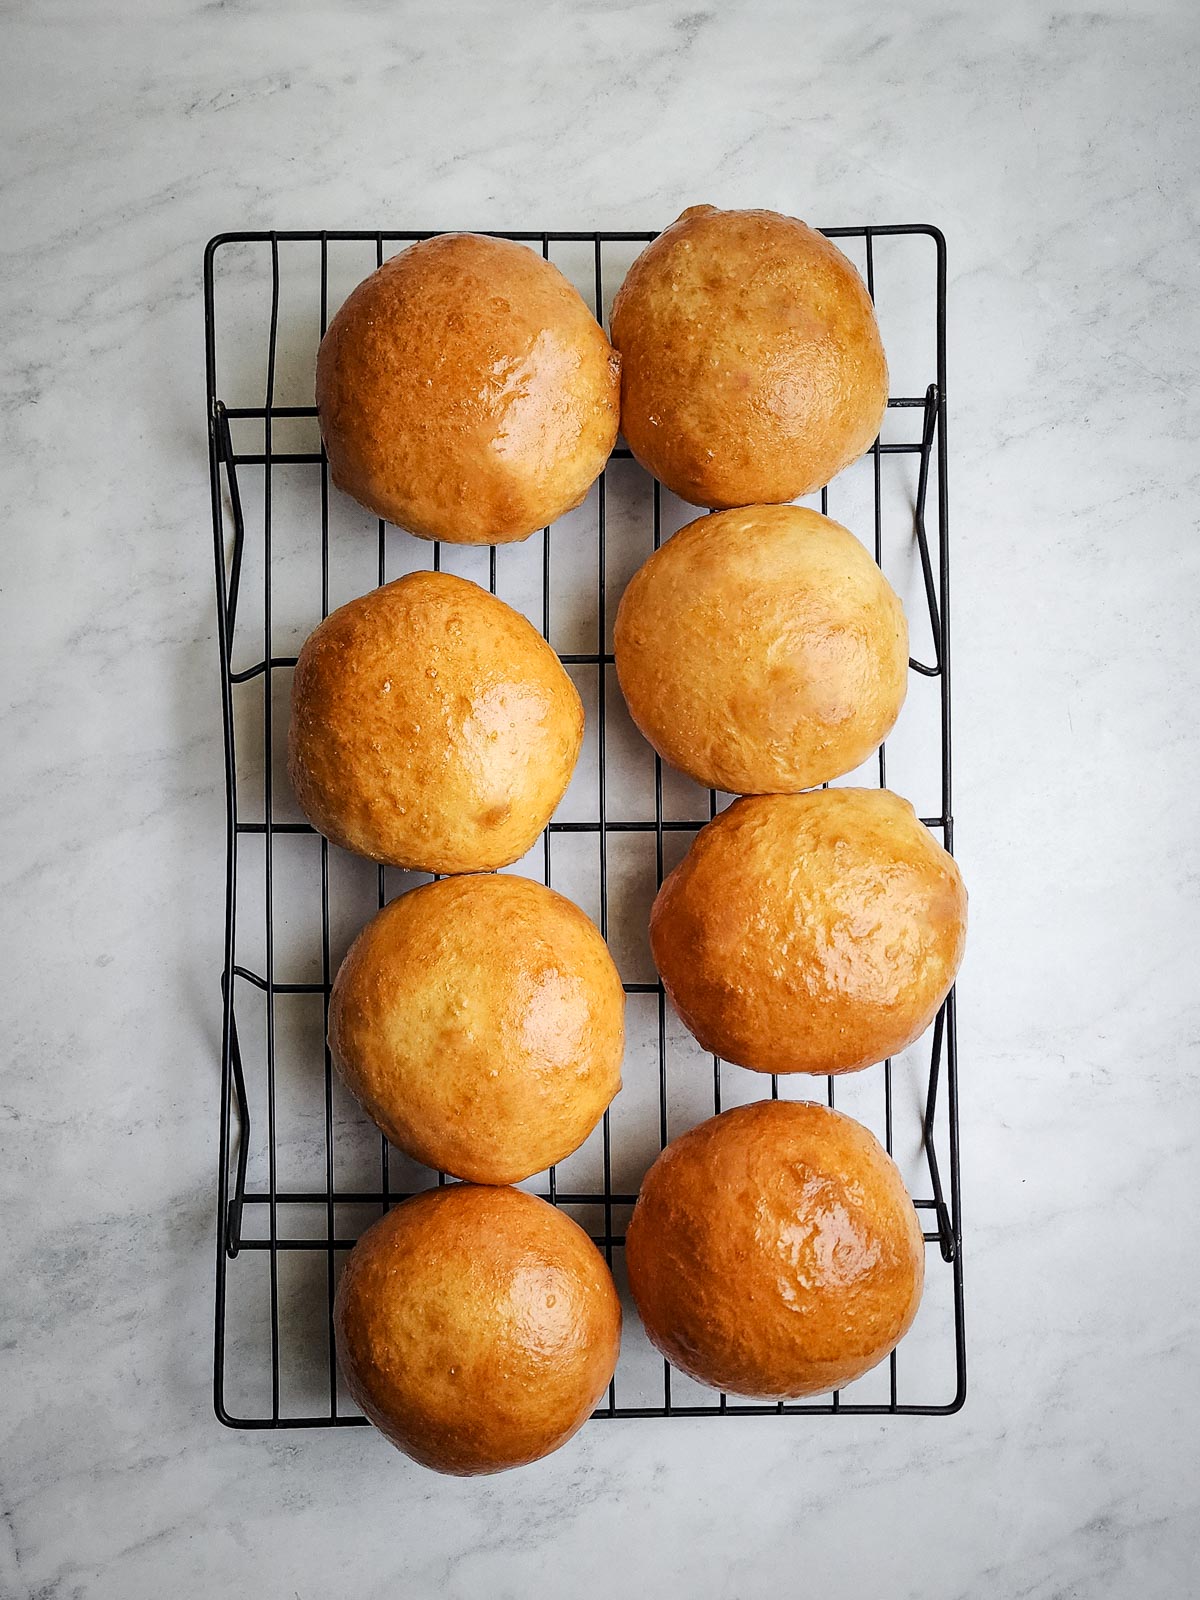
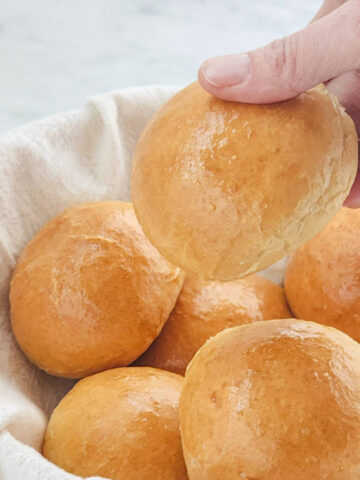
Step 12: Allow to cool for 5 minutes, then brush with melted butter. Transfer the buns to a wire cooling rack and allow them to cool completely before using.
Hint: Brushing the buns with some melted butter will help to soften the buns as they are cooling. Another way to help get them softer is to put them in a bag once they are cool and seal it shut for an hour or two.
Substitutions
Don't have all of these ingredients on hand? The following ingredients can be used instead:
- Bread Flour - All-Purpose Flour can be substituted for the bread flour in equal parts. The buns won't be quite as soft, but you will still end up with really tasty results.
- Active Dry Yeast - Instant yeast doesn't require any activating/blooming time. This can be added directly to the flour mixture when assembling.
- Unsalted Butter - Salted butter can be used in this recipe instead of unsalted butter. Just reduce the amount of fine sea salt called for by about ¼ teaspoon.
- Honey - Swap out the honey for 1 tablespoon of granulated sugar.
- Kosher Salt - If you don't have kosher salt on hand, an equal weight (not volume) of fine sea salt works
Recommended Equipment
The equipment listed below is all helpful to have on hand in order to give you really great and repeatable results. Some of these items aren't required in order to make delicious buns, but they can make things much easier.
- Stand Mixer - While not required, a stand mixer is incredibly helpful in speeding the process along. Double the mixing/kneading time if kneading by hand.
- Instant Read Thermometer - Optional, but important to get the dough temperature just right. I recommend the Thermapen One by Thermoworks. It's the fastest and most accurate thermometer I've ever used. It's a bit pricey, but it's the best and it's backed by an awesome 5-year warranty.
- Parchment Paper - Helps keep the bottom of the buns from sticking to the baking sheet.
- Baking Sheet - To bake the buns on.
- Plastic Wrap - To cover the buns while proofing after shaping.
- Pastry Brush - For the egg wash and melted butter.
- Cooling Rack - Helpful to prevent the bottom of the buns from getting soggy from the steam while they are cooling.
Storing and Reheating
These buns are the best the same day they are made, but they can can be stored at room temperature for up to three days. After three days, transfer them to a ziplock bag and freeze for up to 3 months.
These buns do really well in the freezer. Reheating them is as simple thawing at room temperature overnight or warming them in a 300°F oven for 5 to 7 minutes until soft.
Top Tips for Burger Bun Success
- Weighing the flour will give you the best results. If you don't have a kitchen scale, scoop the flour into the measuring cup with a spoon, and scrape the extra off the top.
- Heat the milk to 95 - 100°F to kick start the fermentation process. This will help the first rise.
- Stagger the buns on your baking sheet as shown above to ensure that they bake evenly. If you bake them in a row, they will rise too much, bunch together, and the outside edges won't brown.
- Store the cooled buns in a sealed container or zip-top bag for an hour or two to enhance their softness prior to serving.
Related Recipes
Looking for other recipes like these burger buns? Take a look at the following bread and burger bun recipes listed below and let me know what you think!
Serving Suggestions
These recipes listed below are my favorite dishes to use these burger buns for.
Did you make this recipe for The Ultimate Homemade Hamburger Buns?
Let me know how yours turned out in the comments below, and don't forget to leave a rating!
Recipe
Ultimate Homemade Hamburger Buns
Equipment
- Small Saucepan
- Wire Cooling Racks
Ingredients
The Ultimate Hamburger Buns
- ¾ Cup 90-100°F Whole Milk 185g
- 2 Teaspoons Active Dry Yeast 7g
- 1 ½ Tablespoons Honey 30g
- 2 ¾ Cups Bread Flour 340g
- 2 Teaspoons Fine Sea Salt 10g
- 5 Tablespoons Unsalted Butter 70g - Softened, Plus more for brushing
- 1 Large Egg About 50g
Egg Wash
- 1 Large Egg White
- 1 Tablespoon Water
Instructions
- Add the milk and honey to a small saucepan and heat to 90 - 100°F over medium-high heat, stirring occasionally to ensure the honey is dissolved. Remove from the heat, whisk in the yeast and allow to bloom for 5 to 10 minutes.
- While the yeast is blooming, whisk together the bread flour and fine sea salt in the bowl of a stand mixer. Attach the dough hook.
- Add the yeast mixture and large egg to the flour mixture and mix on low speed until combined, about 2-3 minutes. Add the softened butter and increase the speed to medium and knead for 8 to 10 minutes until a smooth dough is formed and it pulls away cleanly from the edges of the bowl.
- Turn the dough out onto the counter and shape into a smooth ball. Place the dough into a large mixing bowl, cover and rest for 1-hour until doubled in size. Towards the end of the first rise, line a baking sheet with parchment paper and set aside.
- Punch the dough down and turn it out onto an un-floured work surface. Divide into 8 equal pieces, about 75 grams each. Form each piece of dough into a ball, tucking the edges together and then pinching the seams on the bottom. Roll each ball seam-side down into tight dough balls using the friction of the work surface to pull the outer layer of the dough slightly taught.
- Transfer the dough balls to a parchment paper-lined baking sheet, staggering 2 to 3 inches apart so they don't touch during baking (ideal spacing is shown in the blog post above). Gently press the tops down with the palm of your hand to lightly flatten (do this carefully so you don't knock all the air out your buns - flat buns = no bueno). Cover with lightly greased plastic wrap or a damp kitchen towel and proof for an additional hour.
- Preheat the oven to 375°F in the last 15 minutes of the second proof.
- In a small container, combine the egg white and 1 tablespoon of water. Brush the egg wash over the tops of the buns. Optionally top with sesame seeds, poppy seeds, or flaky sea salt.
- Transfer to the oven and bake for 15 to 18 minutes until golden brown and shiny. Remove from the oven and transfer to a wire cooling rack until cooled completely. Once cooled, lightly brush with melted butter.
- For optional softness, transfer to a plastic bag once cool and store at room temperature until ready to serve.
Notes
-
- Weighing the flour will give you the best results. If you don't have a kitchen scale, scoop the flour into the measuring cup with a spoon, and scrape the extra off the top.
-
- Heat the milk to 95-100°F to kick start the fermentation process. This will help the first rise.
-
- Stagger the buns on your baking sheet as shown above to ensure that they bake evenly. If you bake them in a row, they will rise too much, bunch together, and the outside edges won't brown.
-
- Store the cooled buns in a sealed container or zip-top bag for an hour or two to enhance their softness prior to serving.


Dawn says
Made and they were amazing!
Spencer Klickman says
Thanks for giving this recipe a shot, Dawn! So glad to hear you enjoyed them!
Christian says
The best burger bun recipe out there! Perfectly soft but sturdy enough for whatever you throw at them!