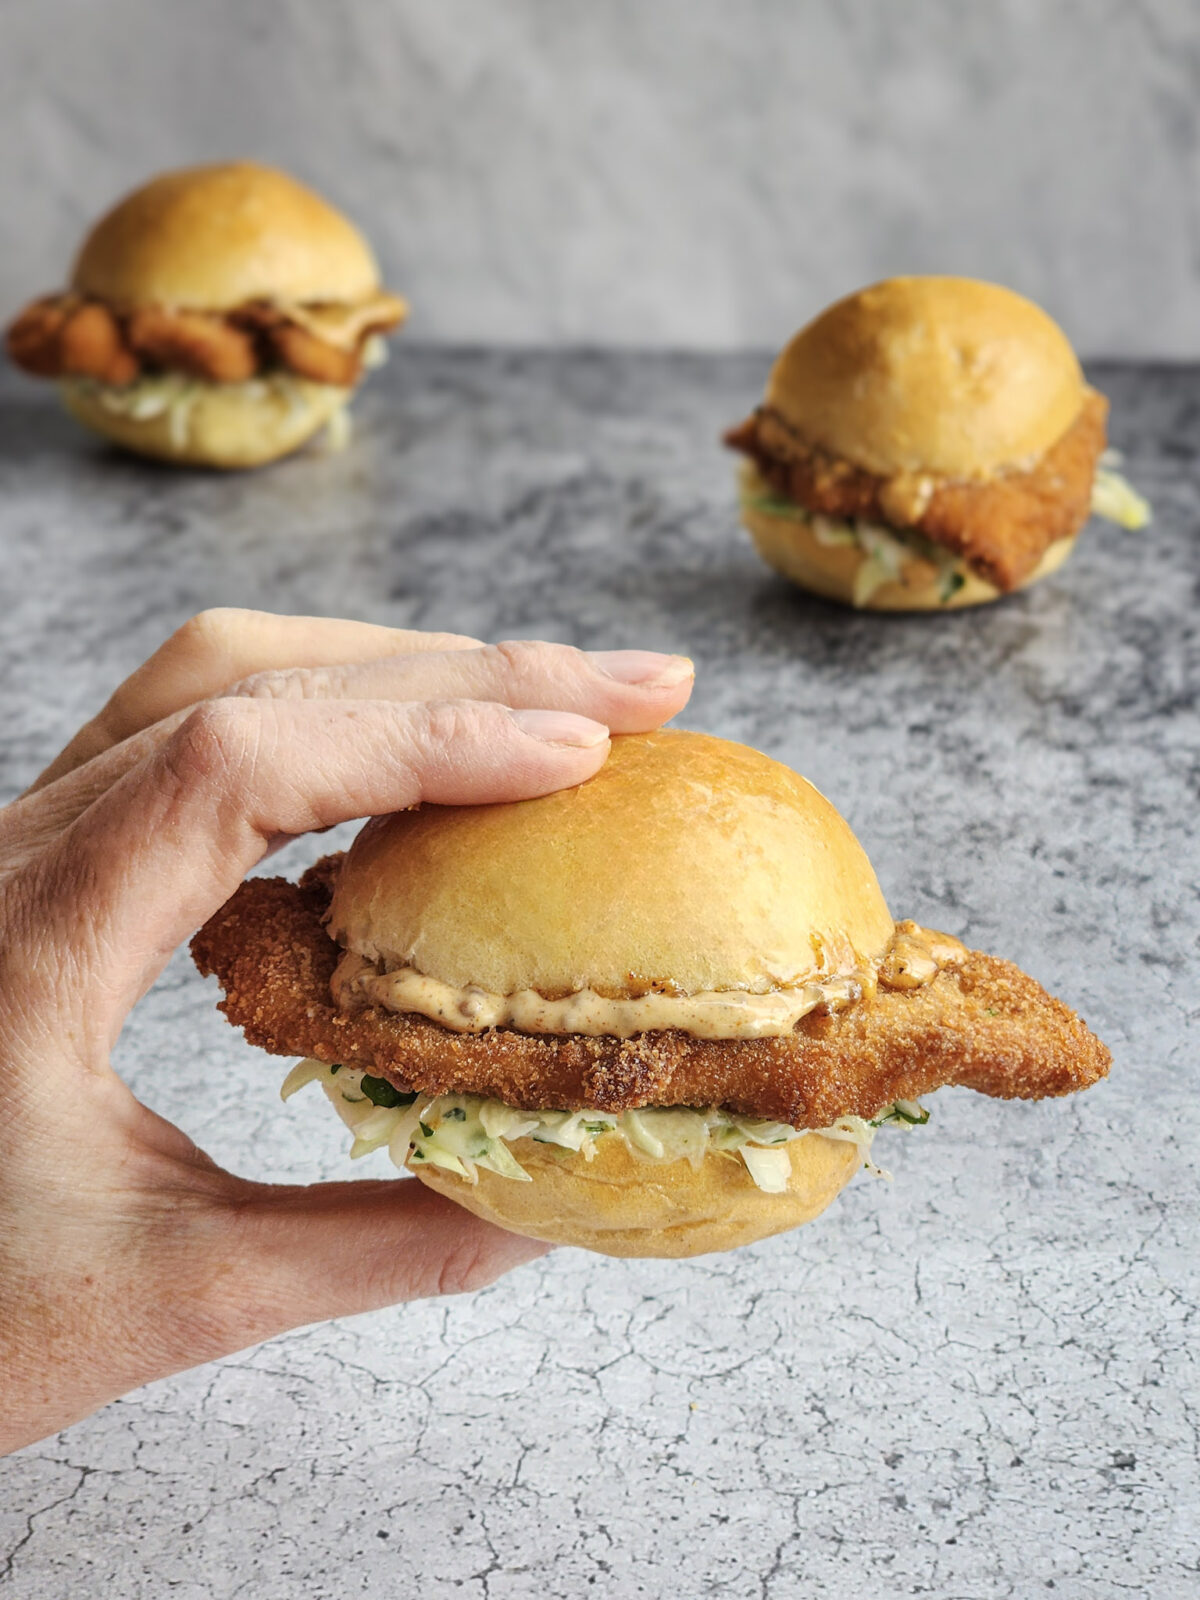
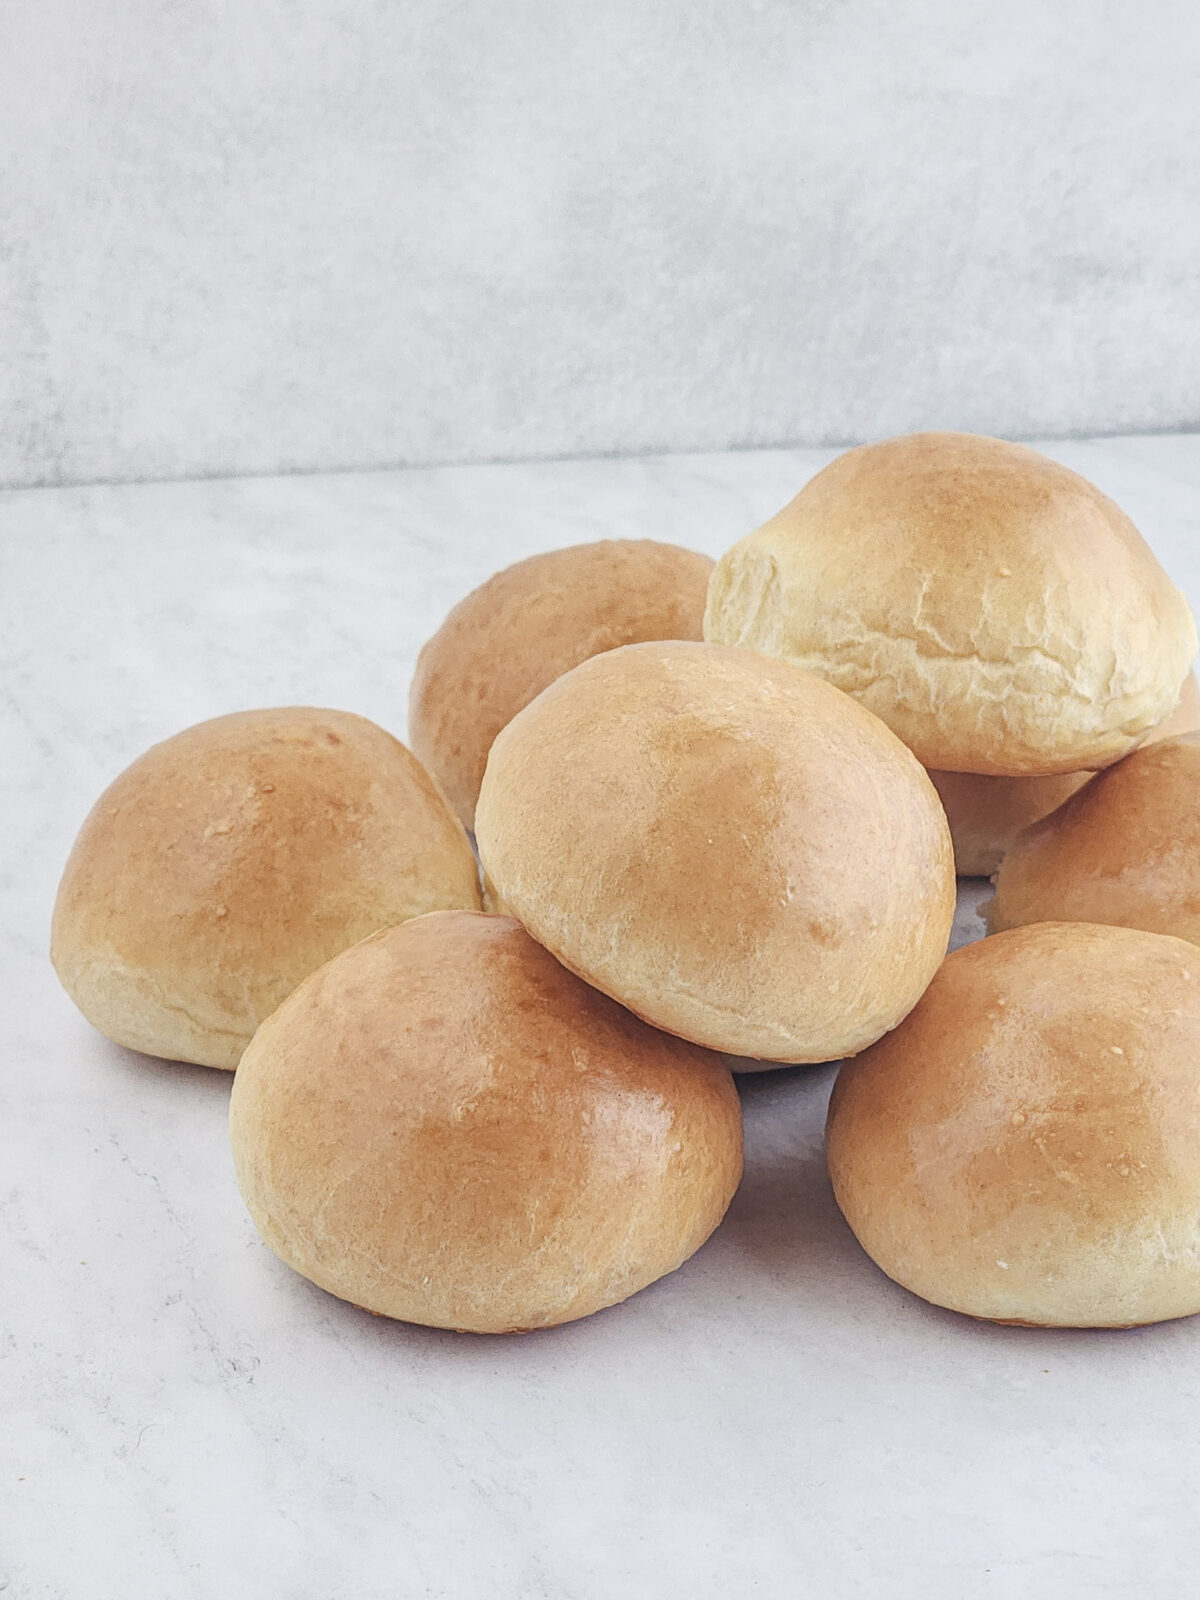
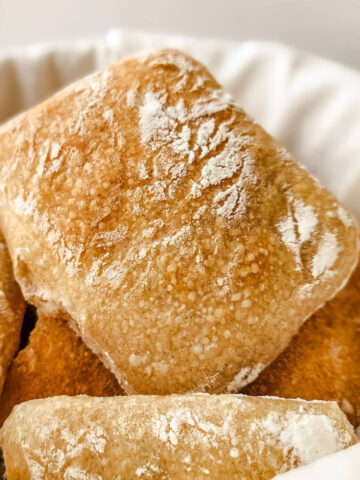
These Homemade Brioche Slider Buns are the perfect soft and buttery delivery device for sliders, or mini-chicken sandwiches, or any other bite-sized snack! You can turn almost any sandwich you want into an appetizer-friendly size with these buns, which is perfect for your next party or gathering.

In fact - I developed this slider bun recipe to pair with my Chicken Schnitzel Sliders, and I usually have several of them in one sitting. These feature a green apple slaw and a creamy stone ground mustard sauce, and are as delicious as they are fun to eat with the help of these buns!
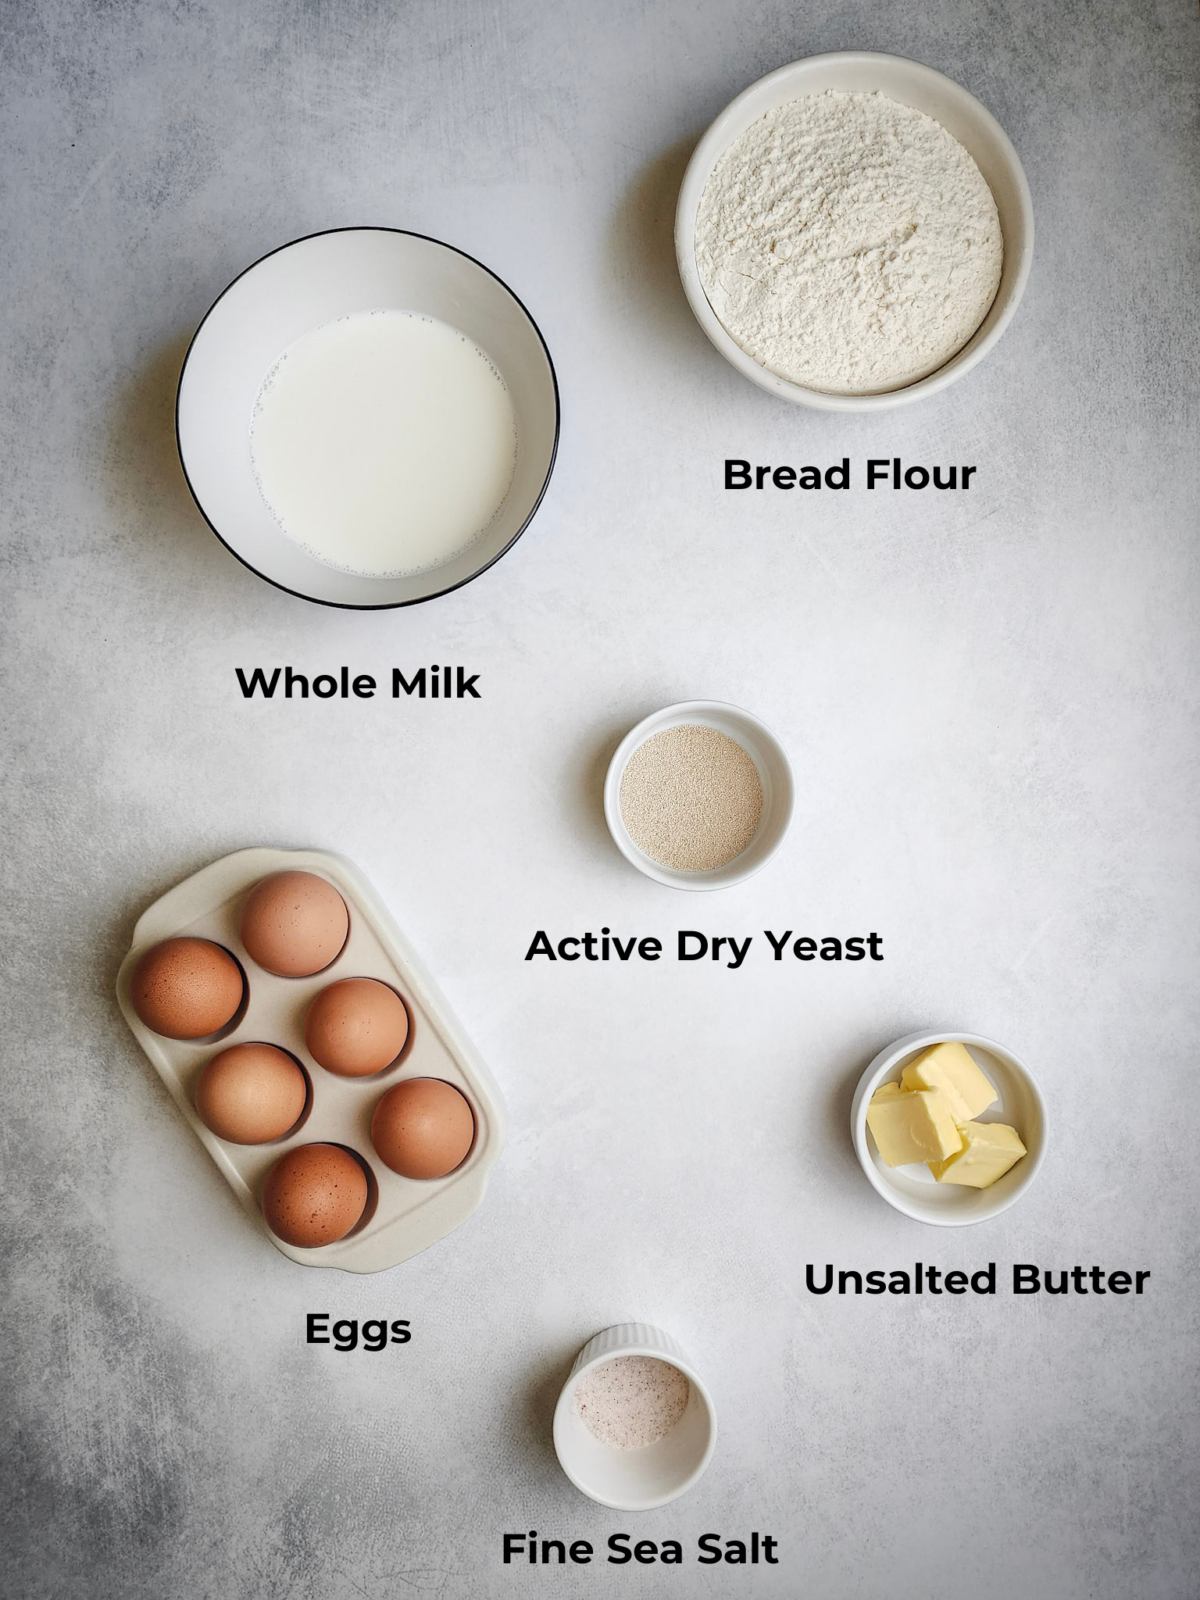
Homemade Brioche Slider Slider Bun Ingredients
The base of this recipe starts with bread flour, whole milk, eggs, and yeast. And you can't have brioche without a healthy dose of butter, either! Just be sure to soften the butter ahead of time to make it easy to incorporate into the dough.
Slider Bun - Egg Wash and Toppings
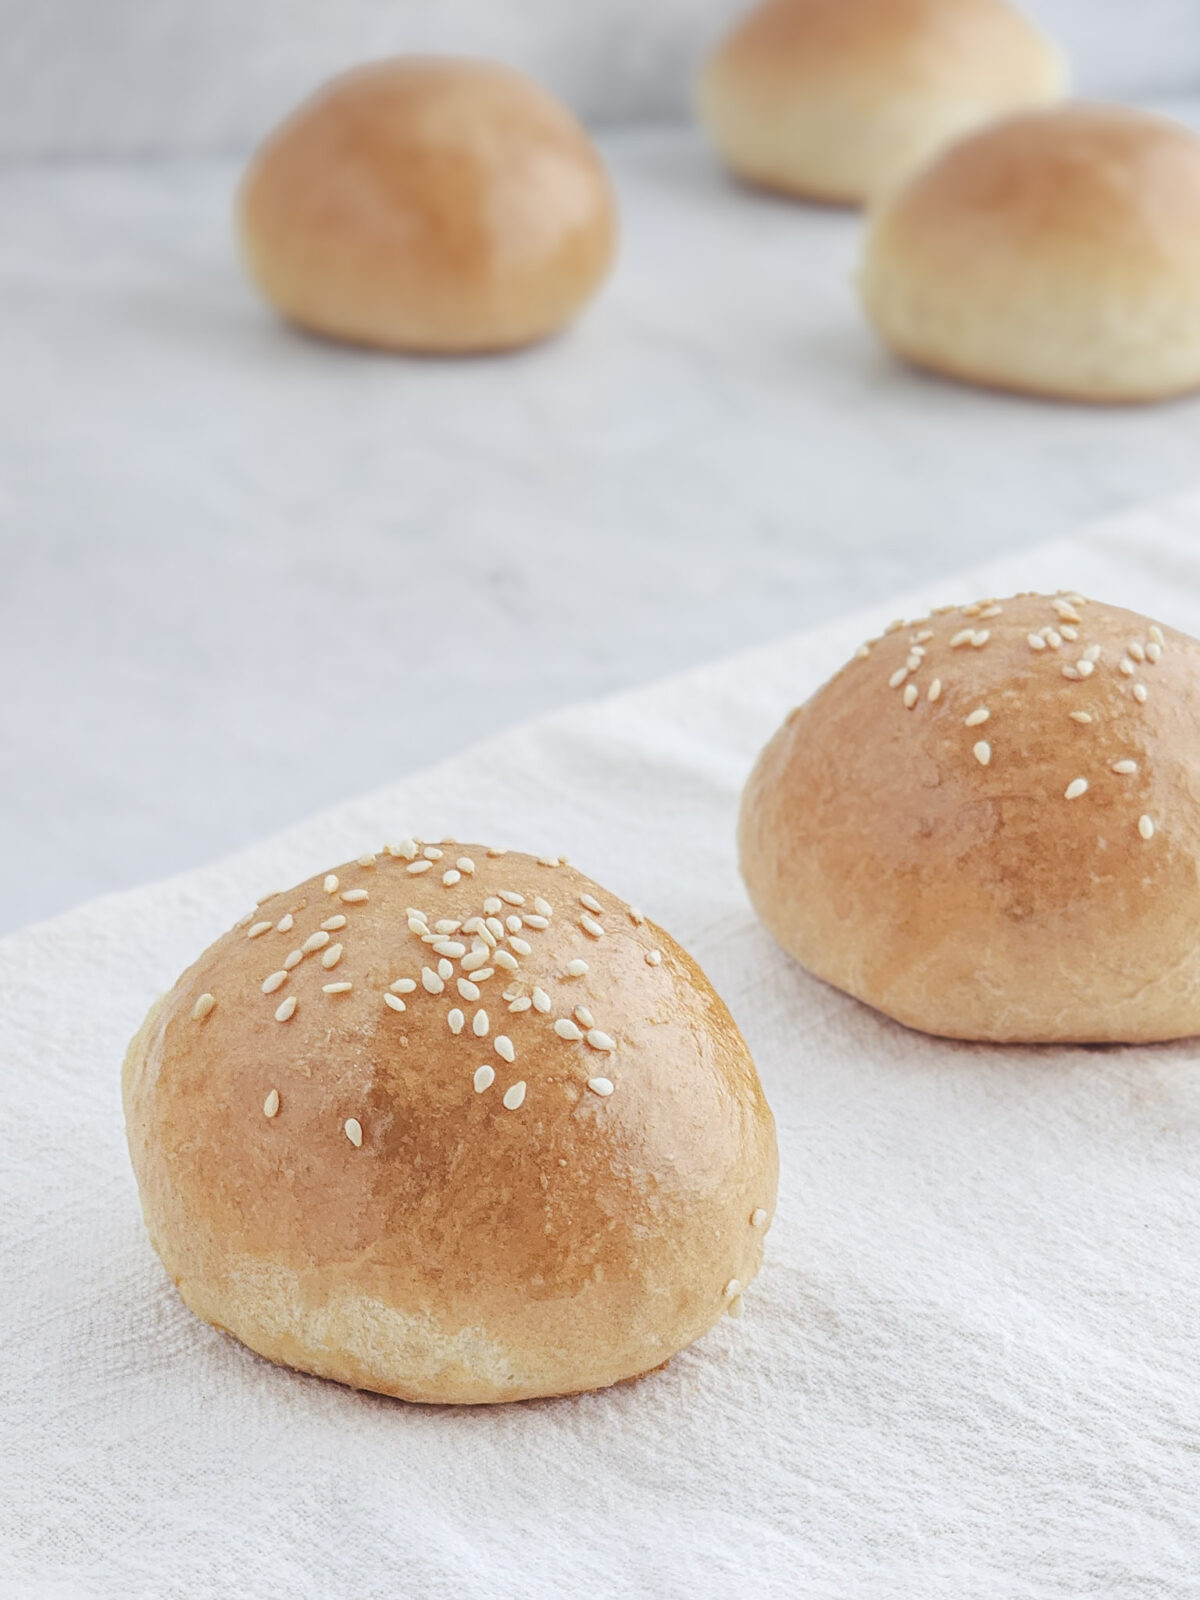
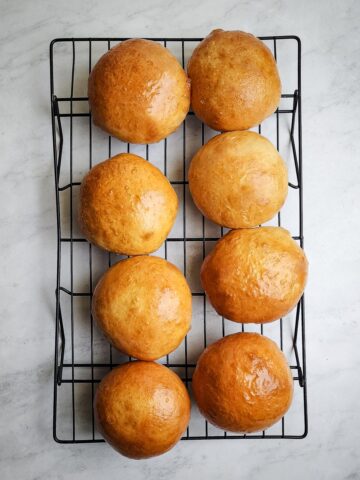
You've got a couple of options when it comes to finishing your buns. You can brush them with butter before and after baking, you can use an egg wash (my preferred method), or you can leave them bare. I like to use a whole egg with a little bit of milk to get a really glossy shine on mine. It also gives toppings like sesame seeds or flaky salt something to stick to as well.
Speaking of toppings, you can sprinkle a little bit of sesame seeds, poppy seeds, or a pinch of flaky sea salt after you apply your egg wash to give your buns a bit of extra flavor and texture!
Bun Shaping and Proofing Process
This is a really simple dough to put together, albeit it is a little sticky. All you really need is some time to allow the bread to proof, or rise, and to make sure you use enough flour on your work surface and hands to keep it from sticking too much. As with most yeasted breads, this will go through two proofs, one with all of the dough together, then you shape the dough in to buns, then allow them to proof a second time. The second proof is important to give the dough its soft and fluffy texture. The whole process is outlined below:

1. After combining the dough, turn it out onto a floured work surface. 2. Shape the dough into a ball on a floured work surface. 3. Transfer to a bowl and allow to proof at room temperature for 1 hour. 4. After the first proof, punch the dough down. 5. Turn the dough out onto a floured work surface. 6. Divide in to 12 equal pieces, about 45 grams each, and fold into a rough dough ball, pinching the seams together. 7. Using the friction of the work surface, roll the dough balls into tight balls


8. Transfer the dough balls to a parchment paper lined baking sheet and press down lightly on the tops of the buns to slightly flatten them. Cover with a damp kitchen cloth and proof for an additional hour. 
9. After the second proof. 10. Brush with egg wash right before baking.


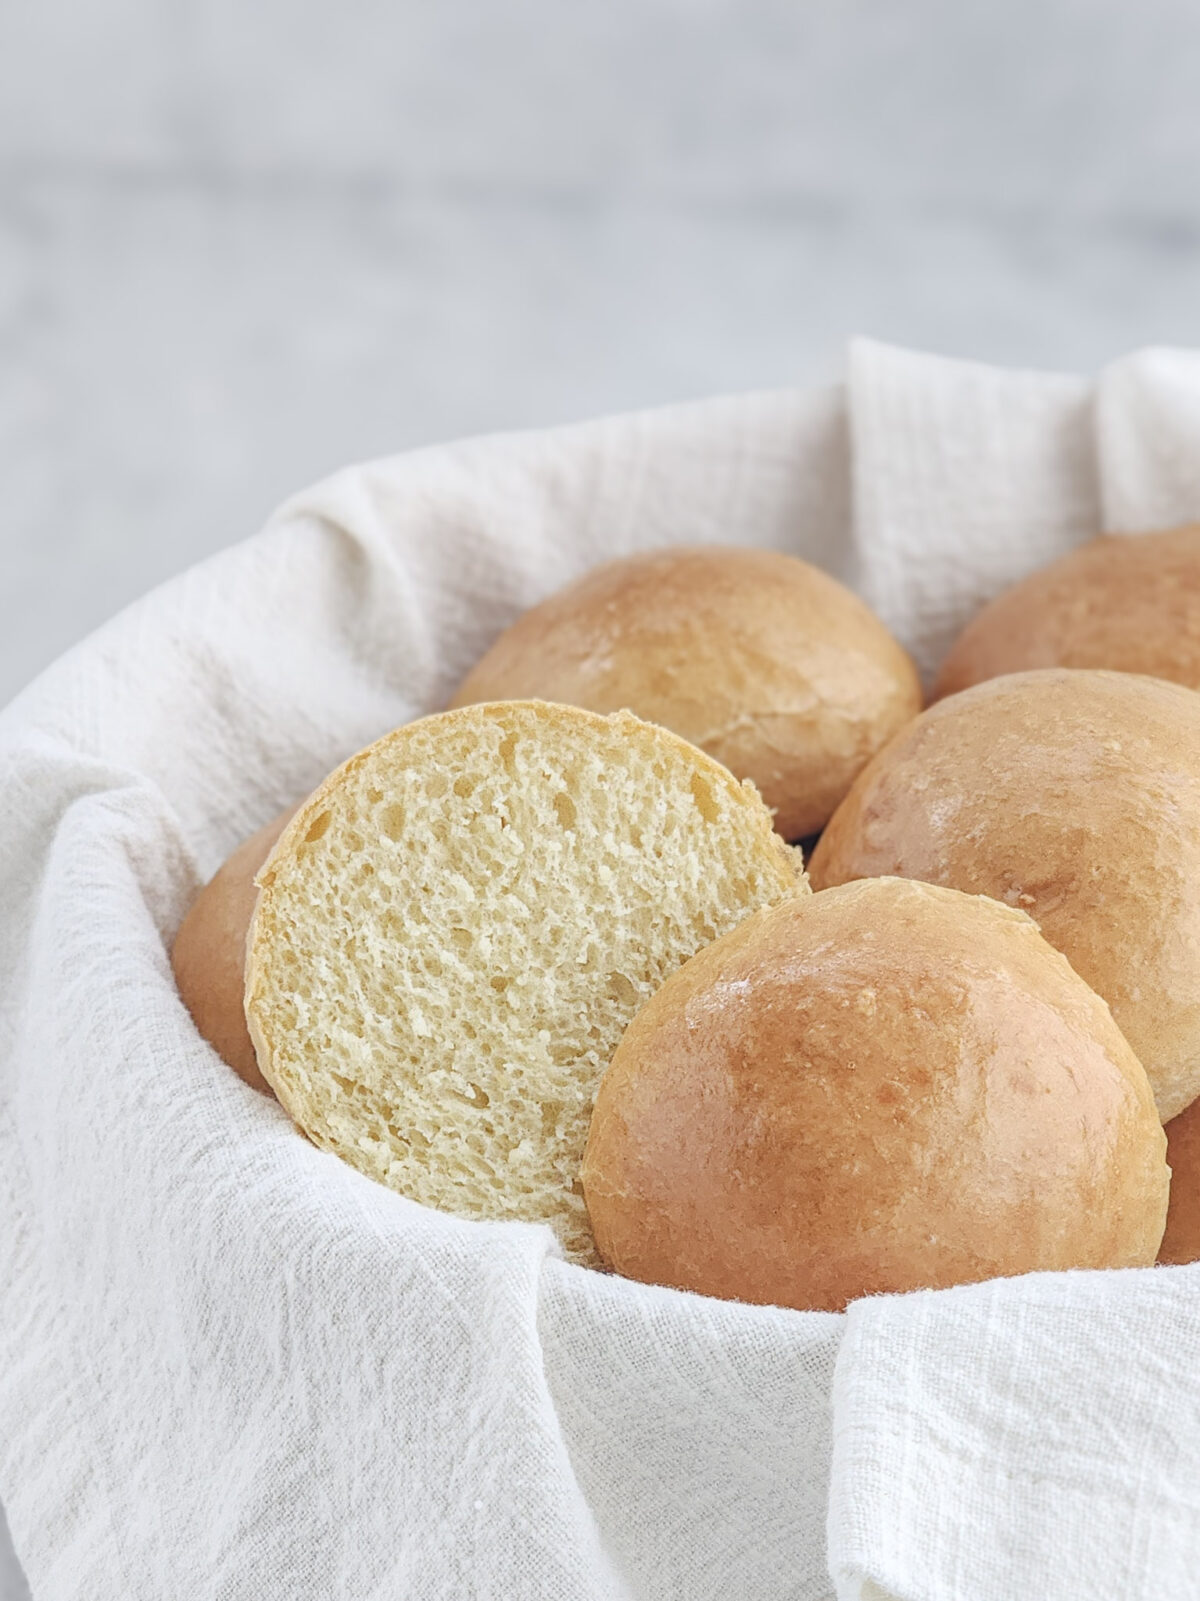
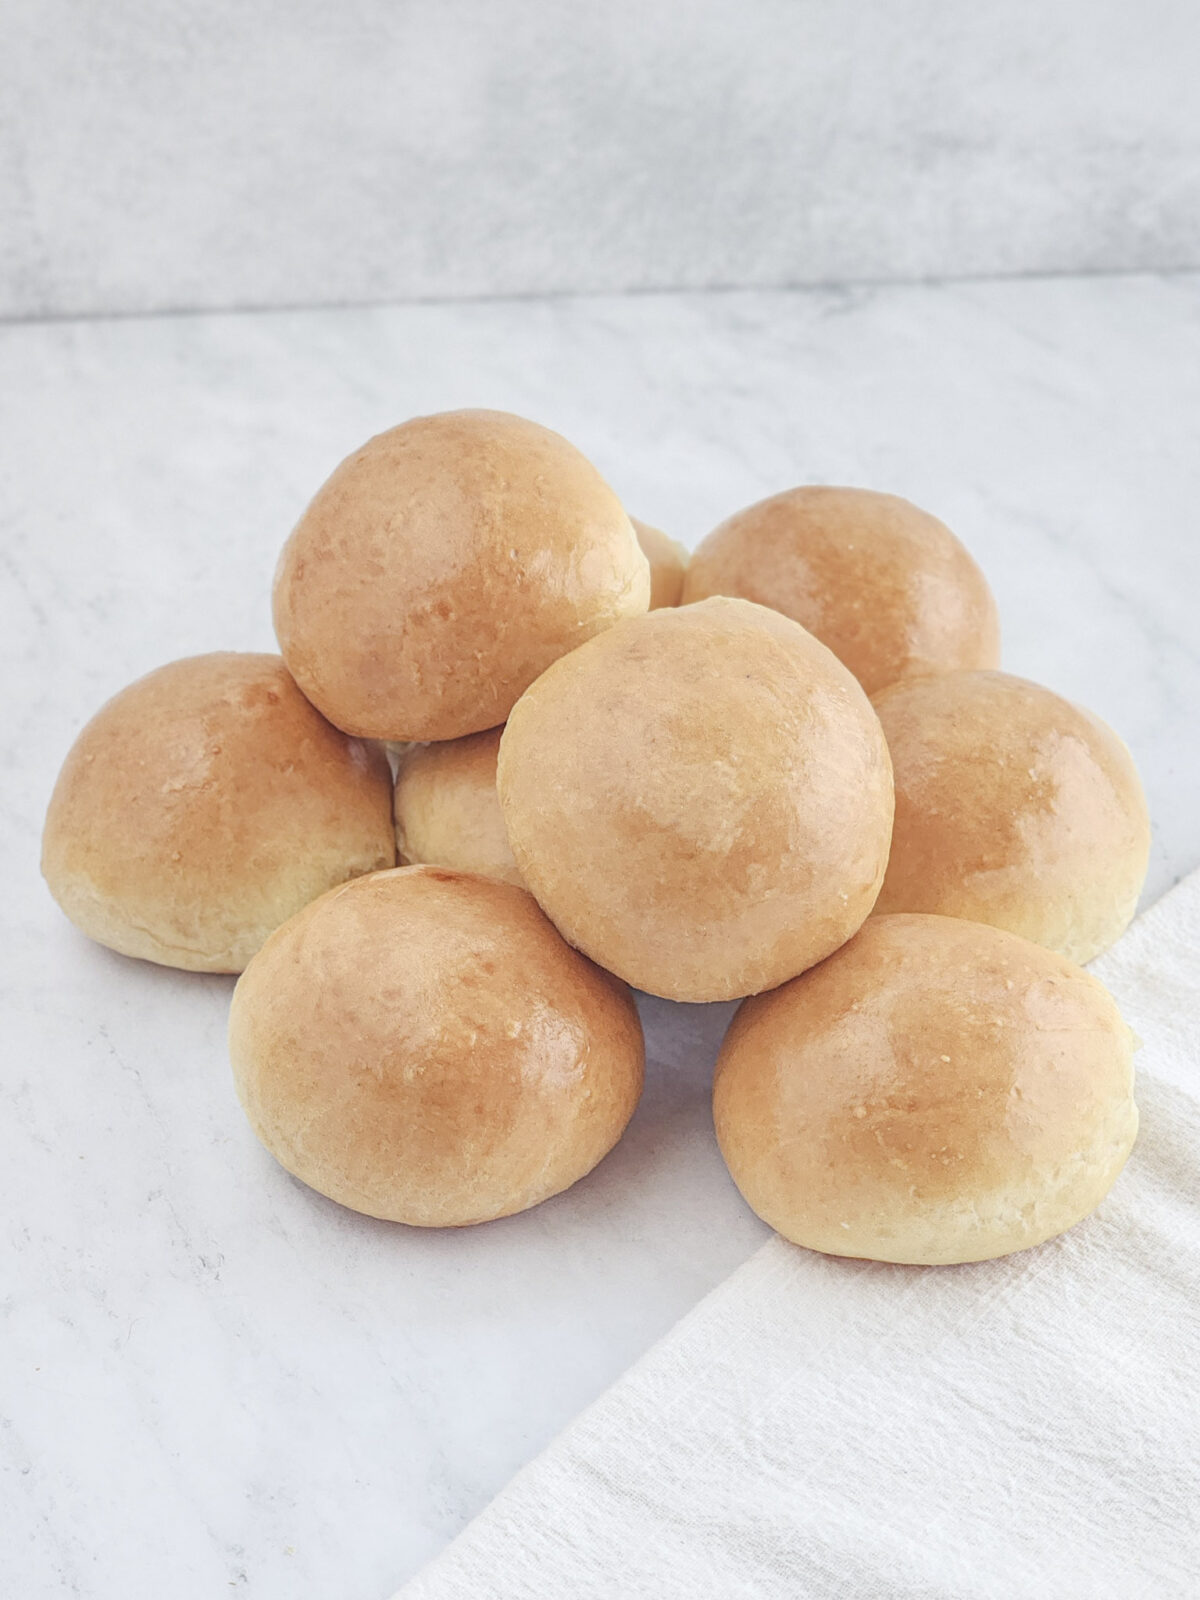
Bake the buns in a 375°F oven for 25 minutes. Remove from the oven, then transfer to a wire cooling rack to let them cool completely. Allowing the buns or bread to cool completely before slicing into it is always the hardest part of baking!
Serving Suggestions
As mentioned above, this Brioche Slider Bun recipe was developed specifically to go with my Chicken Schnitzel Sliders with Green Apple Slaw and Creamy Stone Ground Mustard Sauce, so I definitely recommend making these buns for those!
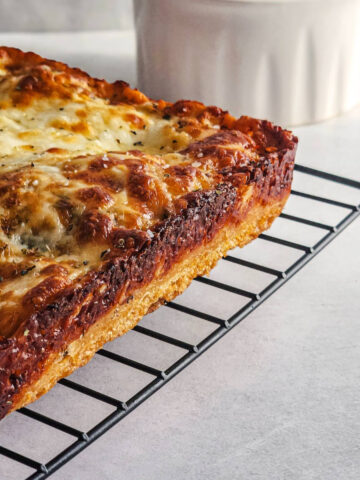
These are also perfect for my Barbecue Chicken Slider recipe, too! Toasting the buns really takes them to the next level.
Or make my recipe for Quick and Easy Sloppy Joes into a party appetizer with these slider buns.
Storing and Reheating Tips
Storing Tips
To store these, place them in an airtight container and store them on the counter for up to 3 days. Anything beyond that, transfer them to a bag and freeze. To thaw them out, simply allow them to come to room temperature on the counter and reheat as usual.
Reheating Tips
To reheat, simply cover the buns in a damp paper towel and heat in a 350°F oven for several minutes until warmed through. Optionally, you can split them and toast them with butter to warm them through.
Frequently Asked Questions
Did you make this recipe for Homemade Brioche Slider Buns?
Let me know how yours turned out in the comments below, and don't forget to leave a rating!
Recipe

Homemade Brioche Slider Buns
Equipment
- Stand Mixer Optional
- Instant Read Digital Thermometer Optional
- Parchment Paper
- Wire Cooling Rack
Ingredients
Homemade Brioche Slider Buns
- 184 ml Whole Milk Warmed to 90 to 100°F
- 7 g Active Dry Yeast
- 300 g Bread Flour Spoon the flour into a measuring cup and sweep the excess off if using volume measurements
- 11 g Fine Sea Salt
- 2 Large Eggs Beaten
- 45 g Unsalted Butter
Egg Wash (Optional)
- 1 Egg - For Egg Wash
- 1 Tablespoon Whole Milk - For Egg Wash
Toppings (Optional)
- 1 teaspoon Sesame Seeds
- 1 teaspoon Poppy Seeds
- Several Pinches Flaky Sea Salt
Instructions
Mixing
- Add milk to a small saucepan and heat over medium-high heat until warmed to 90°F to 100°F, and remove from heat. Add active dry yeast, stirring to combine. Allow to bloom 5 to 10-minutes until active and frothy.
- While yeast mixture rests, add the fine sea salt and bread flour in the bowl of a stand mixer and whisk to combine. Add the yeast mixture and beaten eggs to the dry ingredients and knead on low speed until combined, approximately 5 minutes. Scrape down the sides of the bowl as needed.
- Once you have a rough dough, increase the speed to medium-low and add the softened unsalted butter one tablespoon at a time until thoroughly combined and the dough is smooth, about 5 to 7 minutes.
Proofing & Shaping
- Turn the dough out onto an floured work surface and shape into a smooth ball. Place dough into a large mixing bowl, cover and rest for 1-hour until doubled in size. Towards the end of the first rise, line a baking sheet with parchment paper and set aside. Once the dough has risen, turn it out onto a floured work surface and punch it down.
- Divide the dough into 12 equal pieces, about 45 grams each. Form each piece of dough in to a ball, tucking the edges together and then pinching the seams together on the bottom. Using the friction of the work surface, use a scooping motion to roll them into tight dough balls.
- Transfer the dough balls on a parchment paper-lined baking sheet, and gently press the tops down to lightly flatten. Cover with a damp kitchen towel and proof 1 to 2 more hour(s) - 2 hours preferred.
Baking
- Towards the end of the second proof, preheat the oven to 375*F.
- In a small container, combine the remaining egg and 1 tablespoon of whole milk. Brush the egg wash over the tops of the buns. Optionally top with sesame seeds, poppy sees, or flaky sea salt.
- Transfer to the oven and bake for 20 to 25 minutes until golden brown and shiny. Remove from the oven and transfer to a wire cooling rack until cooled completely.

Christian says
Soft and tasty! Can use these for so many things!